Yuck @ The Library: Summer Science Fun

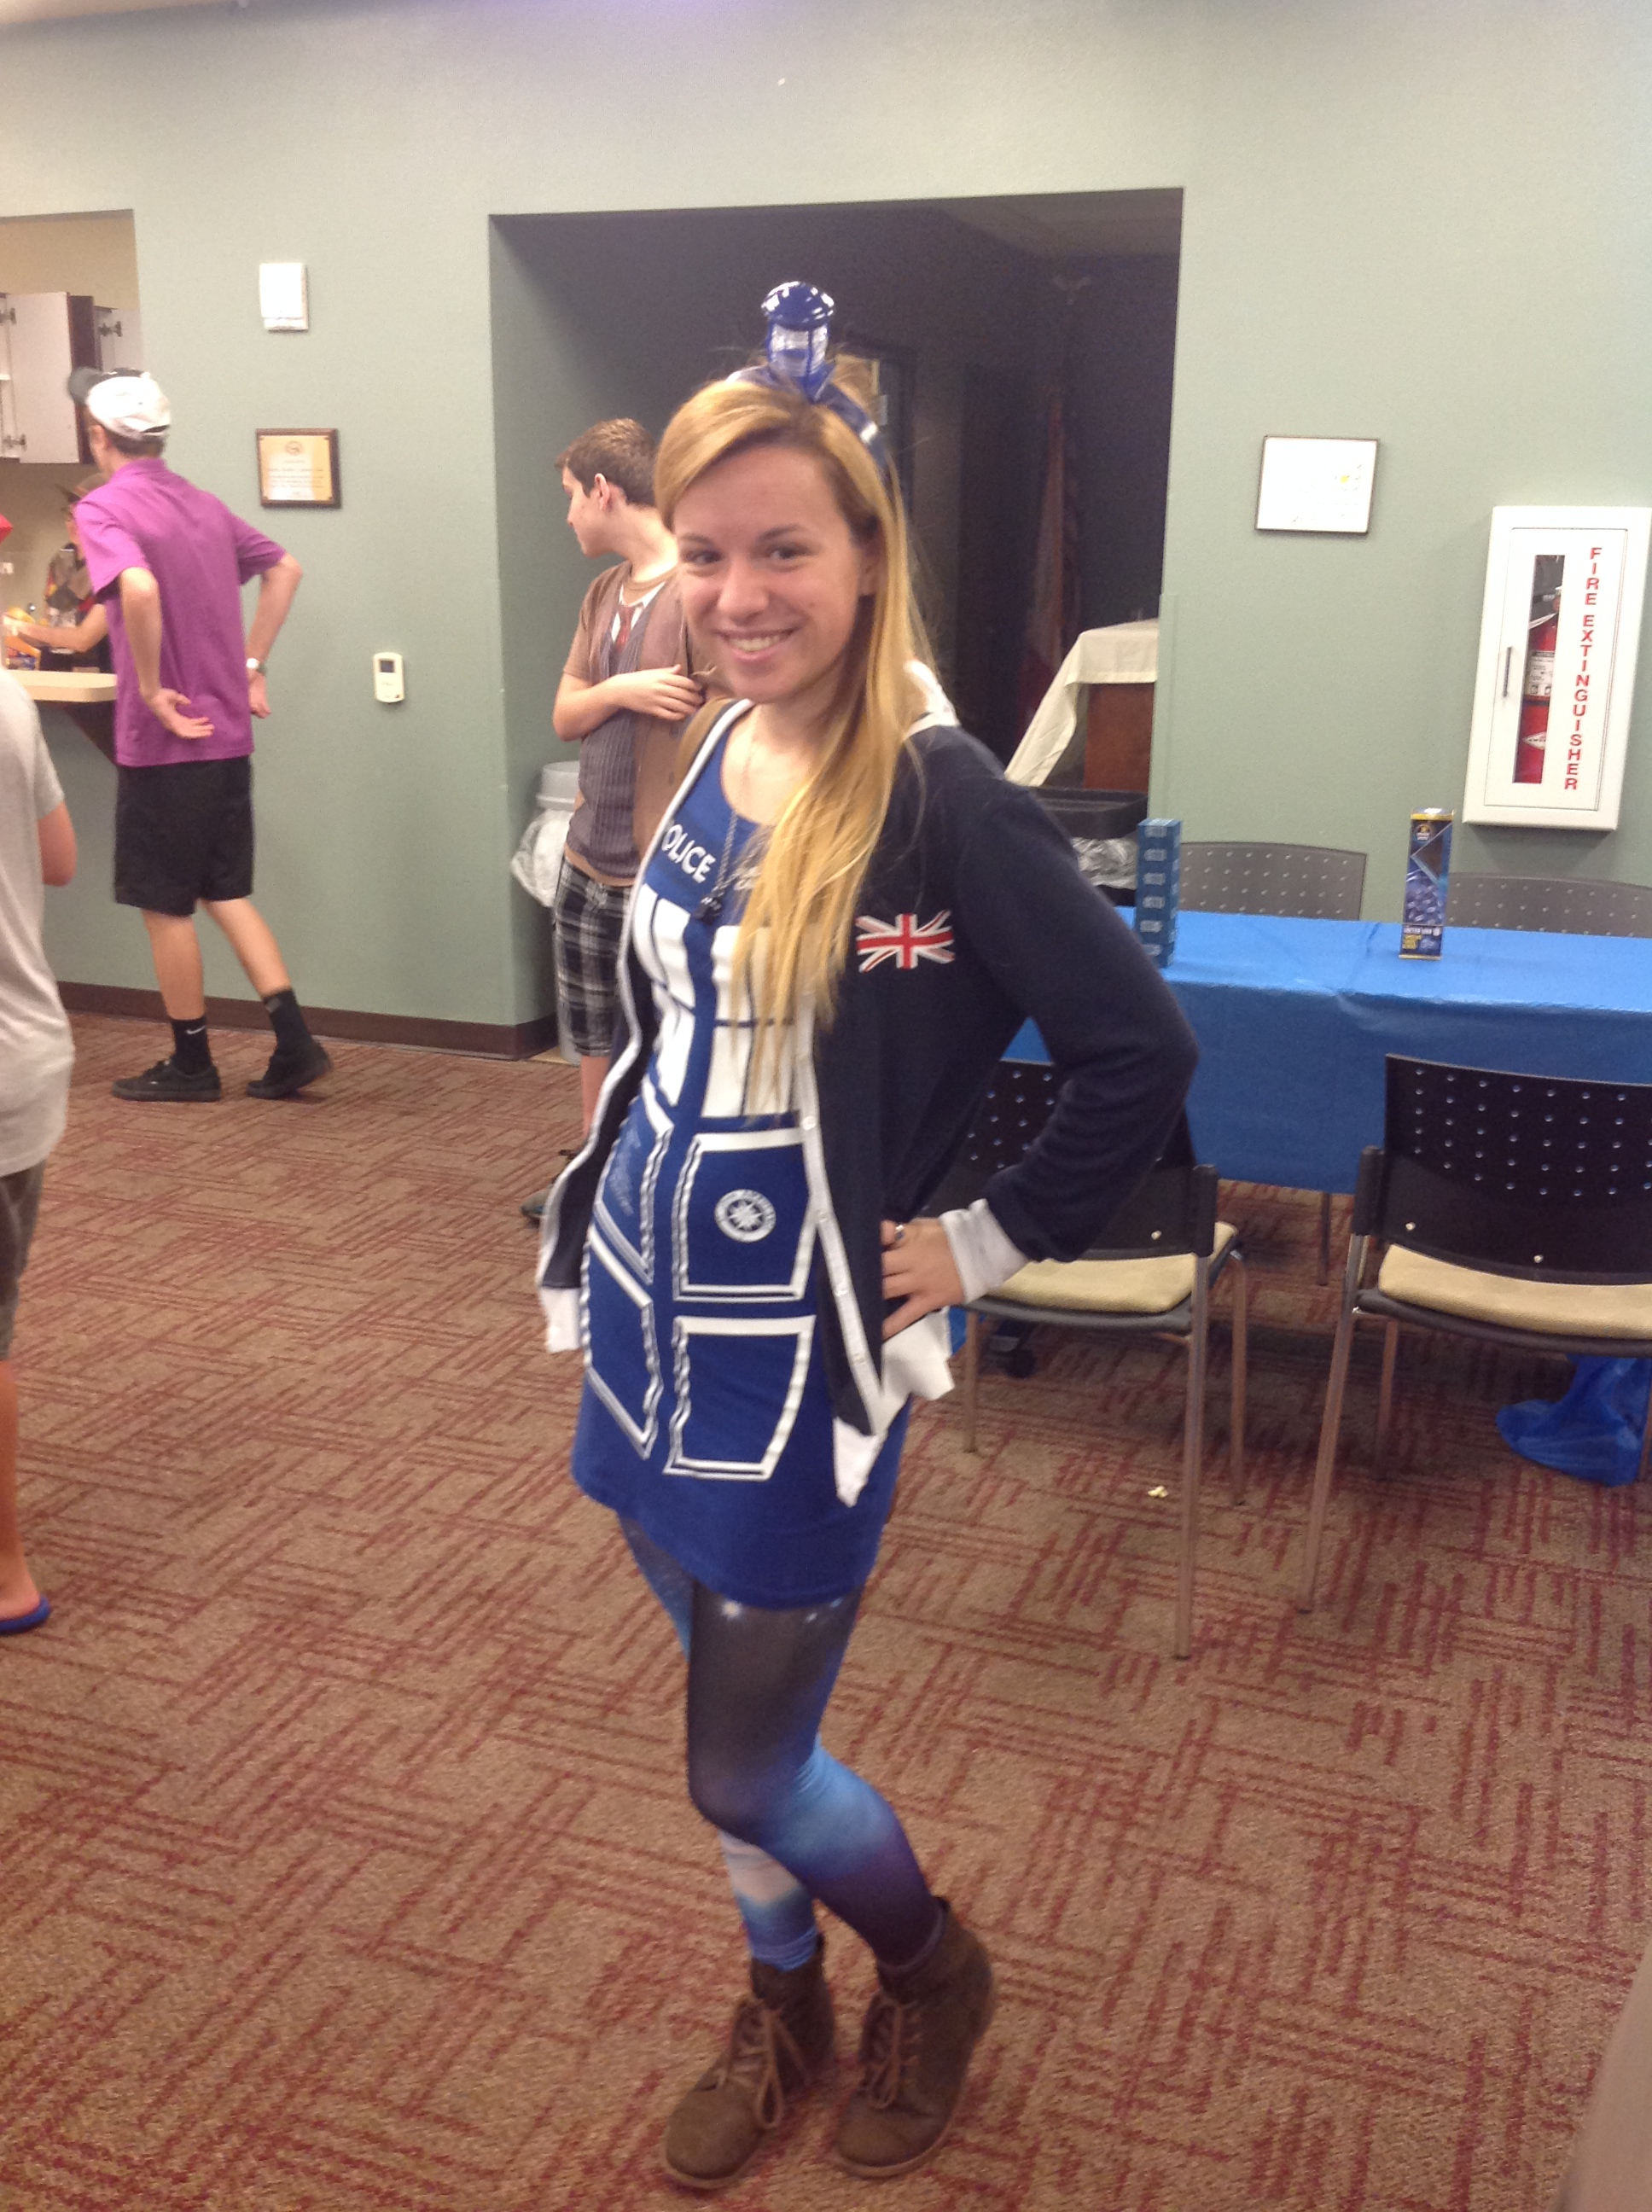
Since our kids’ Summer Reading theme this year is “Fizz, Boom, Read,” we thought having a super messy version of “Yuck @ The Library” would be a perfect fit! Our focus this week was the five senses, so we tried to center our activities around this concept.

Step 1: Story Time To open our program, two of our teen volunteers read Five for a Little One by Chris Rashka. It’s a very lyrical, rhythmic picture book that describes the five senses in a fun and accessible way.
DSC01903

Step 2: Luscious Lollipops Activity To further incorporate the five senses, as well as a literacy component, we had the kids participate in our “Luscious Lollipops Activity.” We gave each child a pencil and a special card with a lollipop attached. We then asked the kids to examine their lollipops, using their senses, and use adjectives to describe their observations.
lollipop2

Step 3: Elephant Toothpaste Experiment

Next, we had the kids use their senses of touch, sight, and smell in our Elephant Toothpaste Experiment. The directions for this activity can be found on ScienceBob.com. I highly recommend using stations for this activity. Also make sure each child has gloves to protect their skin from the chemicals. We started by explaining two scientific terms: catalyst and exothermic reaction. Then we had the kids move to the stations and begin creating their mixtures.
Once our kids had created their chemical concoctions, we took them outside to enjoy the final reaction. Needless to say, they enjoyed the bubbly, foamy, mess we made. 🙂 We also made sure to have them touch the bottles while the exothermic reaction was occurring so they could feel the heat it generated.

DSC01933

Step 4: Oobleck Experiment Finally, we asked our kids to rely on their sense of touch during our Oobleck Experiment, which, of course, gets its name from Dr. Seuss’ Bartholomew and the Oobleck. The directions for creating an Oobleck can be found on the Scientific American website. Oobleck is particularly fascinating for kids because it’s a non-Newtonian fluid. In other words, it’s a fluid that can act both as a liquid and a solid. It all depends on how much force you apply at any given time.

We encouraged the kids to experiment by applying varying amounts of force. Ex: “What happens when you touch the Oobleck gently? What happens when you poke it as hard as you can?” Our kids had a wonderful, gloppy time playing with their slimy creations. At the end of the program, we gave them all ziplock baggies so they could take their Ooblecks home.

IMG_1212

In total, we had 30 kids and 8 parents attend this program. 🙂 We’re all looking forward to having another messy science day again soon!

Doctor Who Day

IMG_1183We did it! After over a month of preparation, hours of painting, printing, and planning, our “Doctor Who Day” was a complete success!

We had 54 tweens, teens, and their parents attend our event. Many came in costume, dressed as their favorite Doctor or Companion.

At the end of the day, we raffled off all seven seasons of Doctor Who. We also raffled off a TARDIS mug as a runner-up prize.

This program was possible solely through the generosity of the Friends of the Library. I am tremendously thankful for their support. So are all my Whovians! 🙂

Decorations

IMG_1082

As always, I wanted this event to feel immersive. I tried to include as many specific details from the series as possible.

Most of my decorations were inspired by various Doctor Who episodes, including our “Badwolf” and “Cassandra” posters, as well as our K-9 and Weeping Angel standees. We also hung a number of famous Doctor Who quotes from the ceiling.

Food

We had four main dishes at our Doctor Who program: Sonic Screwdrivers (chocolate covered pretzel rods), Adipose Babies (marshmallows), bananas (because, as the Doctor said, “Always bring a banana to a party”), and Dalek cupcakes. The cupcake wrappers were ridiculously cute and can be found on Deviant Art. We also had bow-tie shaped lollipops from Oriental Trading, as well as popcorn.

IMG_1066

IMG_1067

IMG_1069

IMG_1070

IMG_1073

Book Station

Even though Doctor Who is a TV show, as a library, we still want to promote literacy. So I made sure to pull every Doctor Who book I could get my hands on to put on display. I also made some custom bookmarks in Publisher and had them laminated. Our teens were excited by the wide selection. Suffice to say, we kept the circulation desk very, very busy. 😉

Crafts

I wanted to make sure we had plenty for our teens to do. So I came up with several crafts for them to enjoy.

Felt Bow-Ties

IMG_1105IMG_1168


Alien Masks

IMG_1148

 IMG_1132IMG_1175Bottle Cap necklaces and TARDIS keys

IMG_1176

Games

I wanted to provide a variety of games for our teens to enjoy. So we had two board games: Doctor Who Jenga and Doctor Who Yahtzee.

IMG_1178

We also had two carnival-style games: “Time Lord Toss” and “Pin the Plunger on the Dalek.”

IMG_1077IMG_1156

IMG_1076

IMG_1098


At the end of the day, everyone had a fantastic time. This was our best attended teen event yet. Here’s to the Doctor! Allons-y!

IMG_1116

IMG_1171

IMG_1089


IMG_1091

IMG_1172

IMG_1135


How to Make Your Own TARDIS

Running to catch the Doctor!

Running to catch the Doctor!

Tomorrow is “Doctor Who Day” at our library, which means a swarm of tween and teen Whovians will be descending on our library. So I thought I’d create a TARDIS for the kids to pose and take pictures with.The process of making the TARDIS is actually pretty simple. It just takes a lot of time and patience. And a lot of paint.

Supplies:

– cardboard boxes

– wood glue

– paint (both spray and traditional)

– paper and tape

Step 1: Build the TARDIS

I highly recommend getting a large refrigerator box. However, since one wasn’t available, we had to use various boxes from U-Haul. We tried to get boxes that were approximately the same width (though the lengths were a little off). We’ll be hiding the “ugly” side in a corner where no one will see those uneven edges. 🙂

If you’re using multiple boxes like I did, simply stack them on top of each other. Then adhere them using the wood glue.

Note: You may want to use some books or other heavy objects to press the boxes together until the wood glue dries.

Building the TARDIS

Building the TARDIS

Step 2: Tape off sections

Using scrap paper that I cut to size, I taped of the sections of the TARDIS that I knew weren’t going to be blue: the windows, signs, etc. By covering these sections, it protected them from the spray paint so that it would be easier to paint them another color later.

004

Step 3: Spray paint

This one’s pretty self explanatory. 🙂

DSC01892

Step 4: Paint your additional sections

After removing the paper, I painted the remaining large sections: the windows, the signs, etc. Make sure to take your time here. Multiple coats might be required to get the colors right.

DSC01893


Step 5: The Finishing Touches

After the base coats were completed, we added the final details: the bars on the windows, the words on the signs, etc. We even painted a styrofoam cup to look like the lantern on the original police box. We then glued the cup to the top of the boxes and presto! Insta-TARDIS!

CAM00460


If you have any questions, feel free to drop me a line! The “Doctor Who Day” post will be up soon! Till then, hang tight Whovians. 🙂

Teen Craft: Celestial Lamp

10489977_10152191248496778_3538135555116919174_nAs part of our Teen Summer Reading Program, “Spark a Reaction,” I thought a craft featuring electricity would be a perfect fit! This craft is fairly simple and user friendly. Plus it will cast beautiful designs on your wall in a dark room!

Supplies:
– poster board
– Martha Stewart’s Star Punch
-hot glue + gun
– scissors
– a 2 ft strand of Christmas lights
– 1 small, round wooden box


Step 1:

If your box has a lid, detach it and throw it away. Trace around your circular box on the poster board to create the “top” of your lamp. Then wrap the poster board around your box to measure and mark the width of your lamp’s “body.”

Step 2:
Cut out the pieces you measured. Punch as many stars as you like into the poster board.

10389966_10152191248581778_7948824225659580782_n

Step 3:
Hot glue the lamp “body” to the wooden box. Drop your Christmas lights into the lamp and thread the cord out through any stars you have in the back. Then hot glue your “top” on.

10390092_10152191248541778_7762684501205413491_n 10342409_10152191248476778_7647918986388980111_n

Step 4: Plug it in and enjoy!

10446518_10152191248621778_8496214390953246111_n

Star Wars Day

Our Summer Reading Program for both kids and teens this year is science-based, so what better way to encourage an interest in science than by tapping into one of the greatest sci-fi stories of all time: Star Wars!

Lord Vader did not approve of my "Rebel" T-shirt. ;)

Lord Vader did not approve of my “Rebel” T-shirt. 😉

We decided to make Star Wars Day a multi-age event, with programs for little ones in the morning and activities for tweens and teens in the afternoon. In essence, we hosted an all-day Star Wars book bash.

The Food & Decorations

I really wanted our patrons to to feel immersed in the Star Wars universe when they walked in the door, so we hung tie-fighters and x-wings from the ceiling. We created them by printing mirror images on cardstock; then we glued the images together, punched a hole in the top of them, and strung them up using thin, white, thread (which looks invisible to the naked eye). We also made a paper mache Death Star, but it ended up looking more like a Death Egg. We’ll have to blow the balloon smaller next time! 😉

Other decorations included blue and black star balloons and a homemade pennant banner. And, by some strange stroke of luck, my boyfriend’s mother stumbled across his childhood Star Wars action figures, which we used to help add character to each of our tables. And, of course, we had cardboard standees of R2D2, C3PO, and Yoda.

We wanted the food to be as “themed” as possible, but with a limited budget and time constraints we had to get creative. So I hunted through Pinterest, naturally, and found dozens of cute ideas. I used Microsoft Publisher to create custom labels for all our foods. We ended up going with Wookie Cookies (Star Crunches), Leia Buns (Honey Buns), Ewok Treats (Teddy Grahams), and Thermal Detonators (Whoppers). We also had popcorn and Yoda Soda (Mountain Dew) for the older kids.

IMG_0489 IMG_0494 IMG_0493 IMG_0492 Children’s Activities  

Station 1: Crafts

We had three basic craft options available for our kids. They could color/make a Yoda Mask or Princess Amidala crown, they could make a space-themed door hanger, or they could enjoy some of our Star Wars coloring sheets. IMG_0578 Station 2: Games

We had two posters drawn up by some of our lovely teen volunteers so that the kids could play “Pin the Bun on Leia” and “Pin the Lightsaber on Yoda.” We also had a Star Wars Ring Toss, in which we taped printed images of various characters on to 2 liter bottles and lined them up.

IMG_0572 IMG_0571

Station 3: Jedi Academy

I borrowed this idea from Kelly on Here Comes the Sun. Her DIY lightsaber idea has been shared numerous times on Pinterest. So easy. So brilliant. Grab a few pool noodles, cut them in half, wrap the ends in duct tape and voila! Instant, kid-safe lightsaber.

We decided to kick things up a notch by putting our padawans through their paces at the Jedi Academy. We blew up about twenty balloons (no helium) and gave one to each child. Then, after counting to three, we had the kids throw the balloons in the air! The kiddos then had to keep their balloons in the air for two minutes using only their lightsaber. When they finished, each child got a Jedi Knight Certificate and a piece of candy.

sw1

Station 4: Video Games

Simple, easy, and effective. We hooked our Wii system up to the projector and let the kiddos go to town on Lego Star Wars and Star Wars Angry Birds.

IMG_0585

Teen Activities

Crafts

Our teens had a choice between two crafts:

1) A Star Wars Marble Magnet

2) A Star Wars Bottle Cap Key Chain

These crafts and dozens more can be found in the Star Wars Craft Book, which proved to be an invaluable resource while planning this event!

IMG_0595

Light Saber Dueling Lessons

I wanted the teen program to be “edgier” than the one we provided for the kids, so what better way to spice things up than with a professional sword fighting lesson?

Paul Stonebridge, a local librarian who happens to be skilled in swordsmanship and martial arts, graciously came to our branch to teach our tweens and teens. They learned the eight basic sword fighting moves and four basic blocks commonly used in the movies.

IMG_0722

The teens had an absolute blast. We’re extremely grateful to Paul for making our event so special.

The 501st Legion: Vader’s Fist

Even Darth Vader enjoys the occasional selfie.

Even Darth Vader enjoys the occasional selfie.

Finally, this post wouldn’t be complete without mentioning the 501st Legion. For those of you who are unfamiliar with them, the 501st is a nonprofit group dedicated to promoting an interest in Star Wars – namely through dressing up as some of its most famous villains. 🙂

The 501st came to our branch free of charge and posed for pictures, interacted with our patrons, and answered Star Wars questions. Our event would not have been the same without them! They were a simply phenomenal addition to our program.

IMG_0744

In total, we had over 120 patrons attend this program – not bad for a small library! We had a fantastic time and we can’t wait to do it again.