Teen Read Week 2016

Teen-Read-Week

I’ve never done Teen Read Week before, so I’m determined to do it this year. I’m planning four days of fun activities, plus a week-long self-directed program.

Day 1: Book/Comic Book Swap

Since we have some leftover donation books and comic books from Free Comic Book Day, I thought we could do a book swap. Teens can bring old, gently used books and swap them for “new” ones. Simple, but fun.

Day 2: Book Art

The teens will use any old magazines and comic books we have left over to create art projects: buttons, mod podge journals, bookmarks, the works.

Day 3: Book-to-Movie Marathon

All day long, we’ll be showing movies that were inspired by books. Plus snacks. LOTS of snacks. Food + Film = win.

Day 4: Book Board Games

There’s a deep love of tabletop gaming in our community, so I thought having a book-themed board game night would be a lot of fun. We’ll be playing games like Scrabble, Sherlock, Book Lover’s Jenga, and Bookopoly.

Teen Read Week Bingo

All week long, teens will be encouraged to complete the activities on their Teen Read Week Bingo Cards. At the end of the week, we’ll draw a name to see who wins a gift card to the local independent bookstore. ๐Ÿ™‚

Here’s hoping it all goes well!

Children’s Hanukkah Craft and Story Time

YS December 2014 130In my quest to support diversity at our branch, I did something we’ve never done before: a Hanukkah Craft and Story Time. After all, if we offer a Christmas Craft & Story Time, we should do one for Hanukkah too!

Supplies:

  • Popsicle sticks
  • Washable markers
  • Stickers
  • Adhesive jewels, stickers, etc.

I started off by asking the kids what they knew about Hanukkah (since we had some curious, non-Jewish kids in the group). This gave me a chance to gauge their understanding and introduce them to the basics (Menorahs, the Maccabees, Latkes, etc.) Then I let the kiddos choose which story they wanted to read. This year, they decided on Hoppy Hanukkah by Linda Glaser.

This image was borrowed from Amazon.com

This image was borrowed from Amazon.com

Afterwards, I turned the kids loose to make our craft: Star of David ornaments that they could hang around their homes or on their tree (for interfaith families).

YS December 2014 119

YS December 2014 115

Next year, I think I’d like to go even bigger: bring in some gelt, bake some latkes, etc. Otherwise, it was a successful program and everyone had a great time.

YS December 2014 128

Teen Craft: Edible Calaveras

ss1Halloween is, undoubtedly, my favorite holiday. So I wanted to do something fun and exciting for our teen Halloween craft this year. What better way to “bring out your dead” than by making Mexican Sugar Skulls?

Traditionally, calaveras are made with sugar, water, and meringue powder (or egg whites). These skulls are so hard that, if you tried to bite into them, you’d end up chipping a tooth.

Fortunately, I found a lovely tutorial on how to make an edible version from Dollar Store Crafts. If you want step-by-step directions, make sure to check it out. This site is an absolute budget life saver when it comes to crafts and one of my new favorite haunts.

Supplies:

1 cup of sugarย (the white, processed kind)

1 rubber skull ice cube mold

2 teaspoons of water

Several tubes of Betty Crocker’s “Gel Decorating Icing”

Basically, you just mix the two teaspoons of water into the sugar until it’s the consistency of sand. Then you press the sugar firmly into your mold, place a cookie sheet on the back, and flip them. When you pull the mold away, you should have lovely little sugar skulls waiting for you!ss3

I also had a giant skull mold that I borrowed from a co-worker. I ended up using a combination of white and raw sugar while making it (since it took five and half whopping cups). The raw sugar gives the bottom half of the larger skull a nice golden color. However, the white sugar definitely hardens better, so I recommend only using it.

ss2

After letting my skulls dry overnight, I got to decorate! It was a lot of fun and I really think the teens are going to enjoy it. I’ll be sure to post the pictures after we host the craft. Happy skull making!

ss4

ย  Senor Calavera y sus amigos

Teen Craft: DIY Mugs

mug1
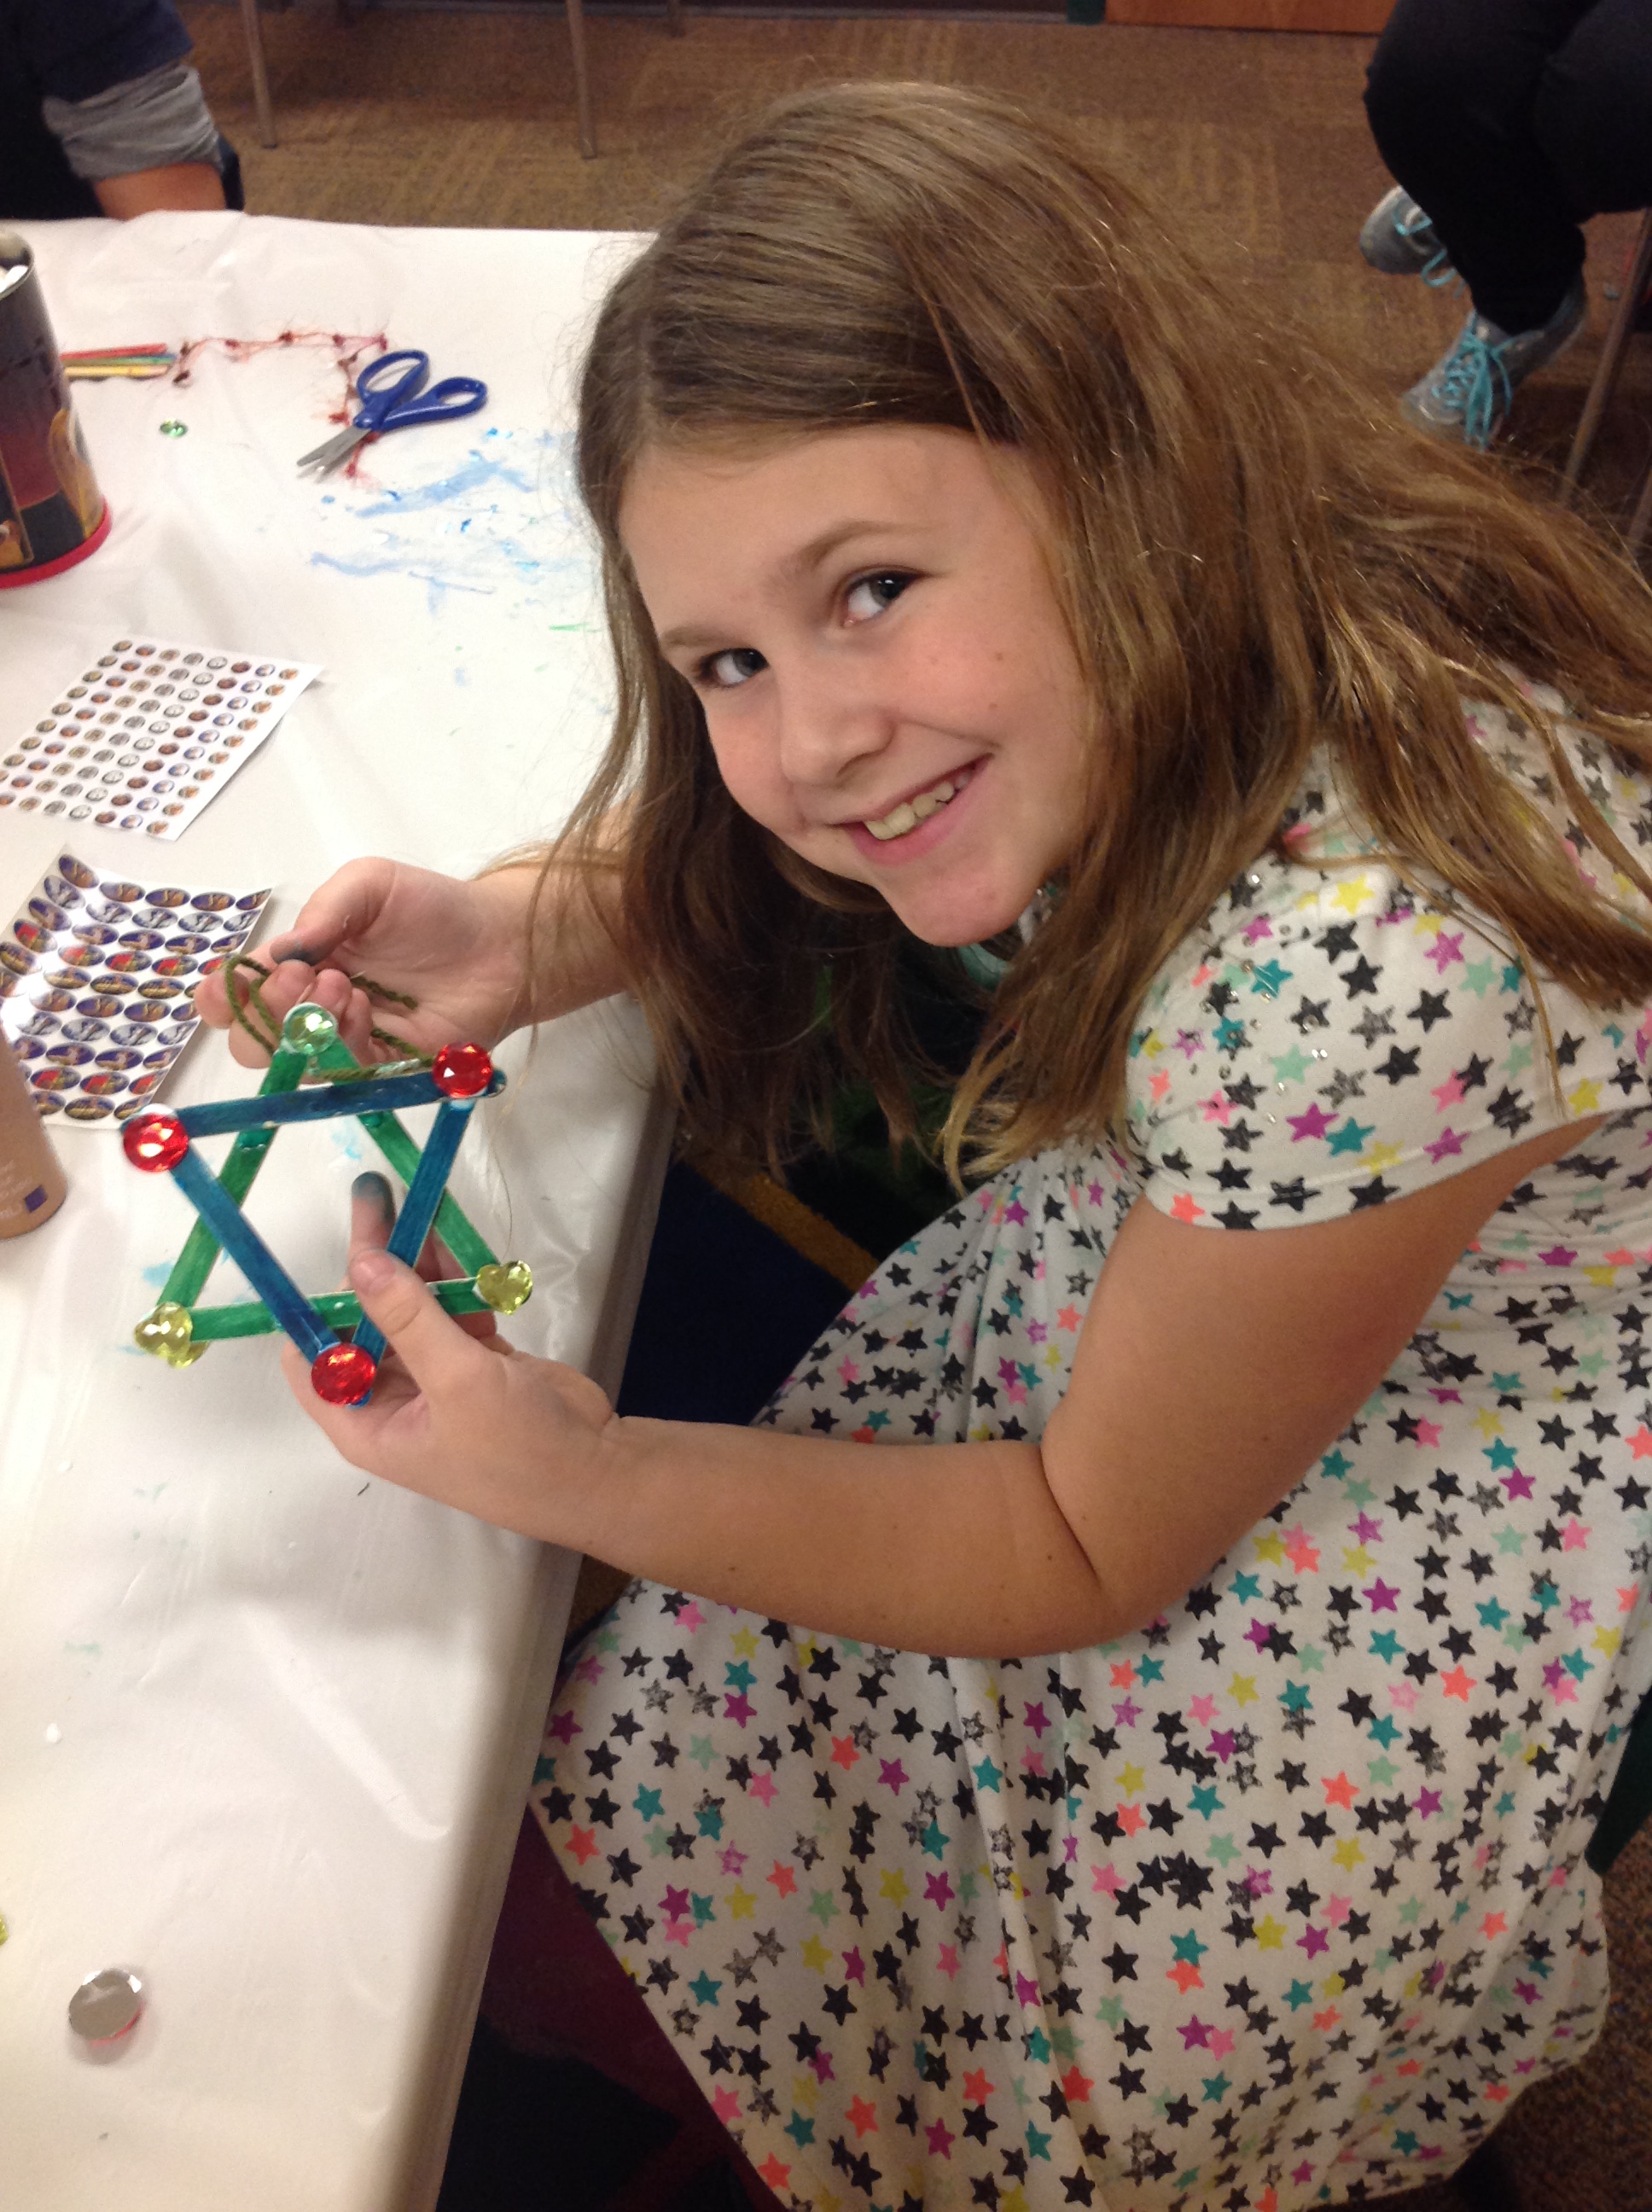
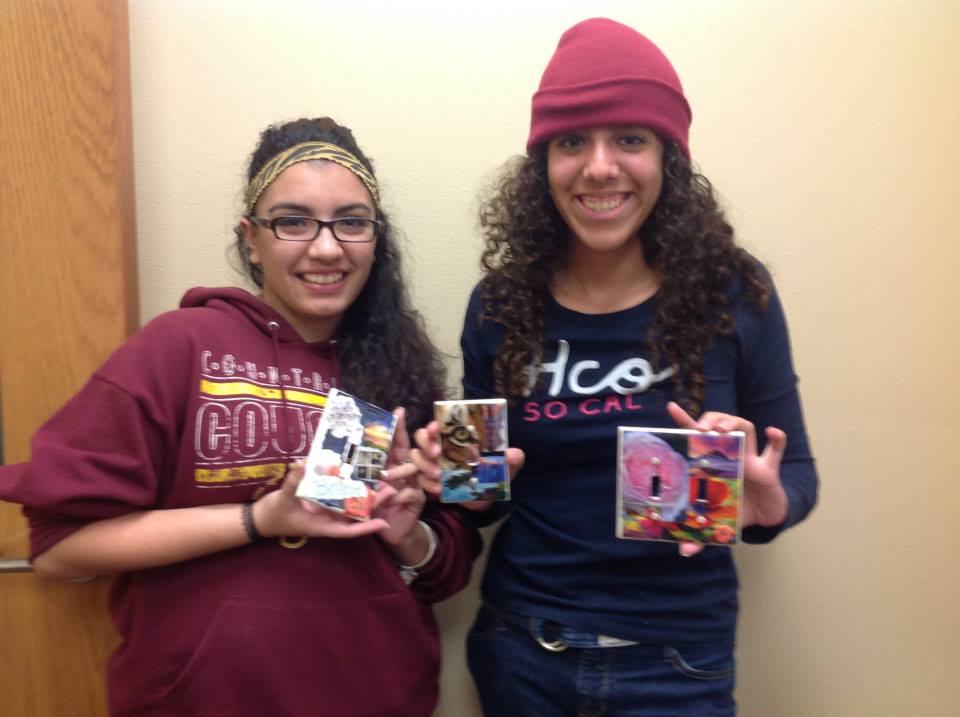
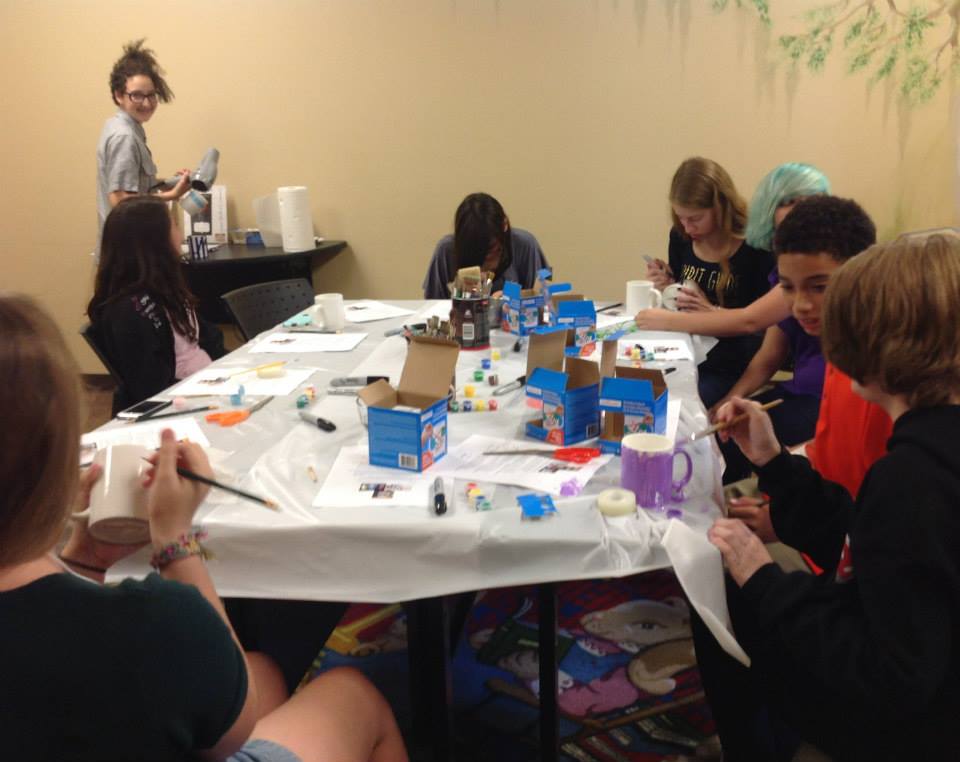
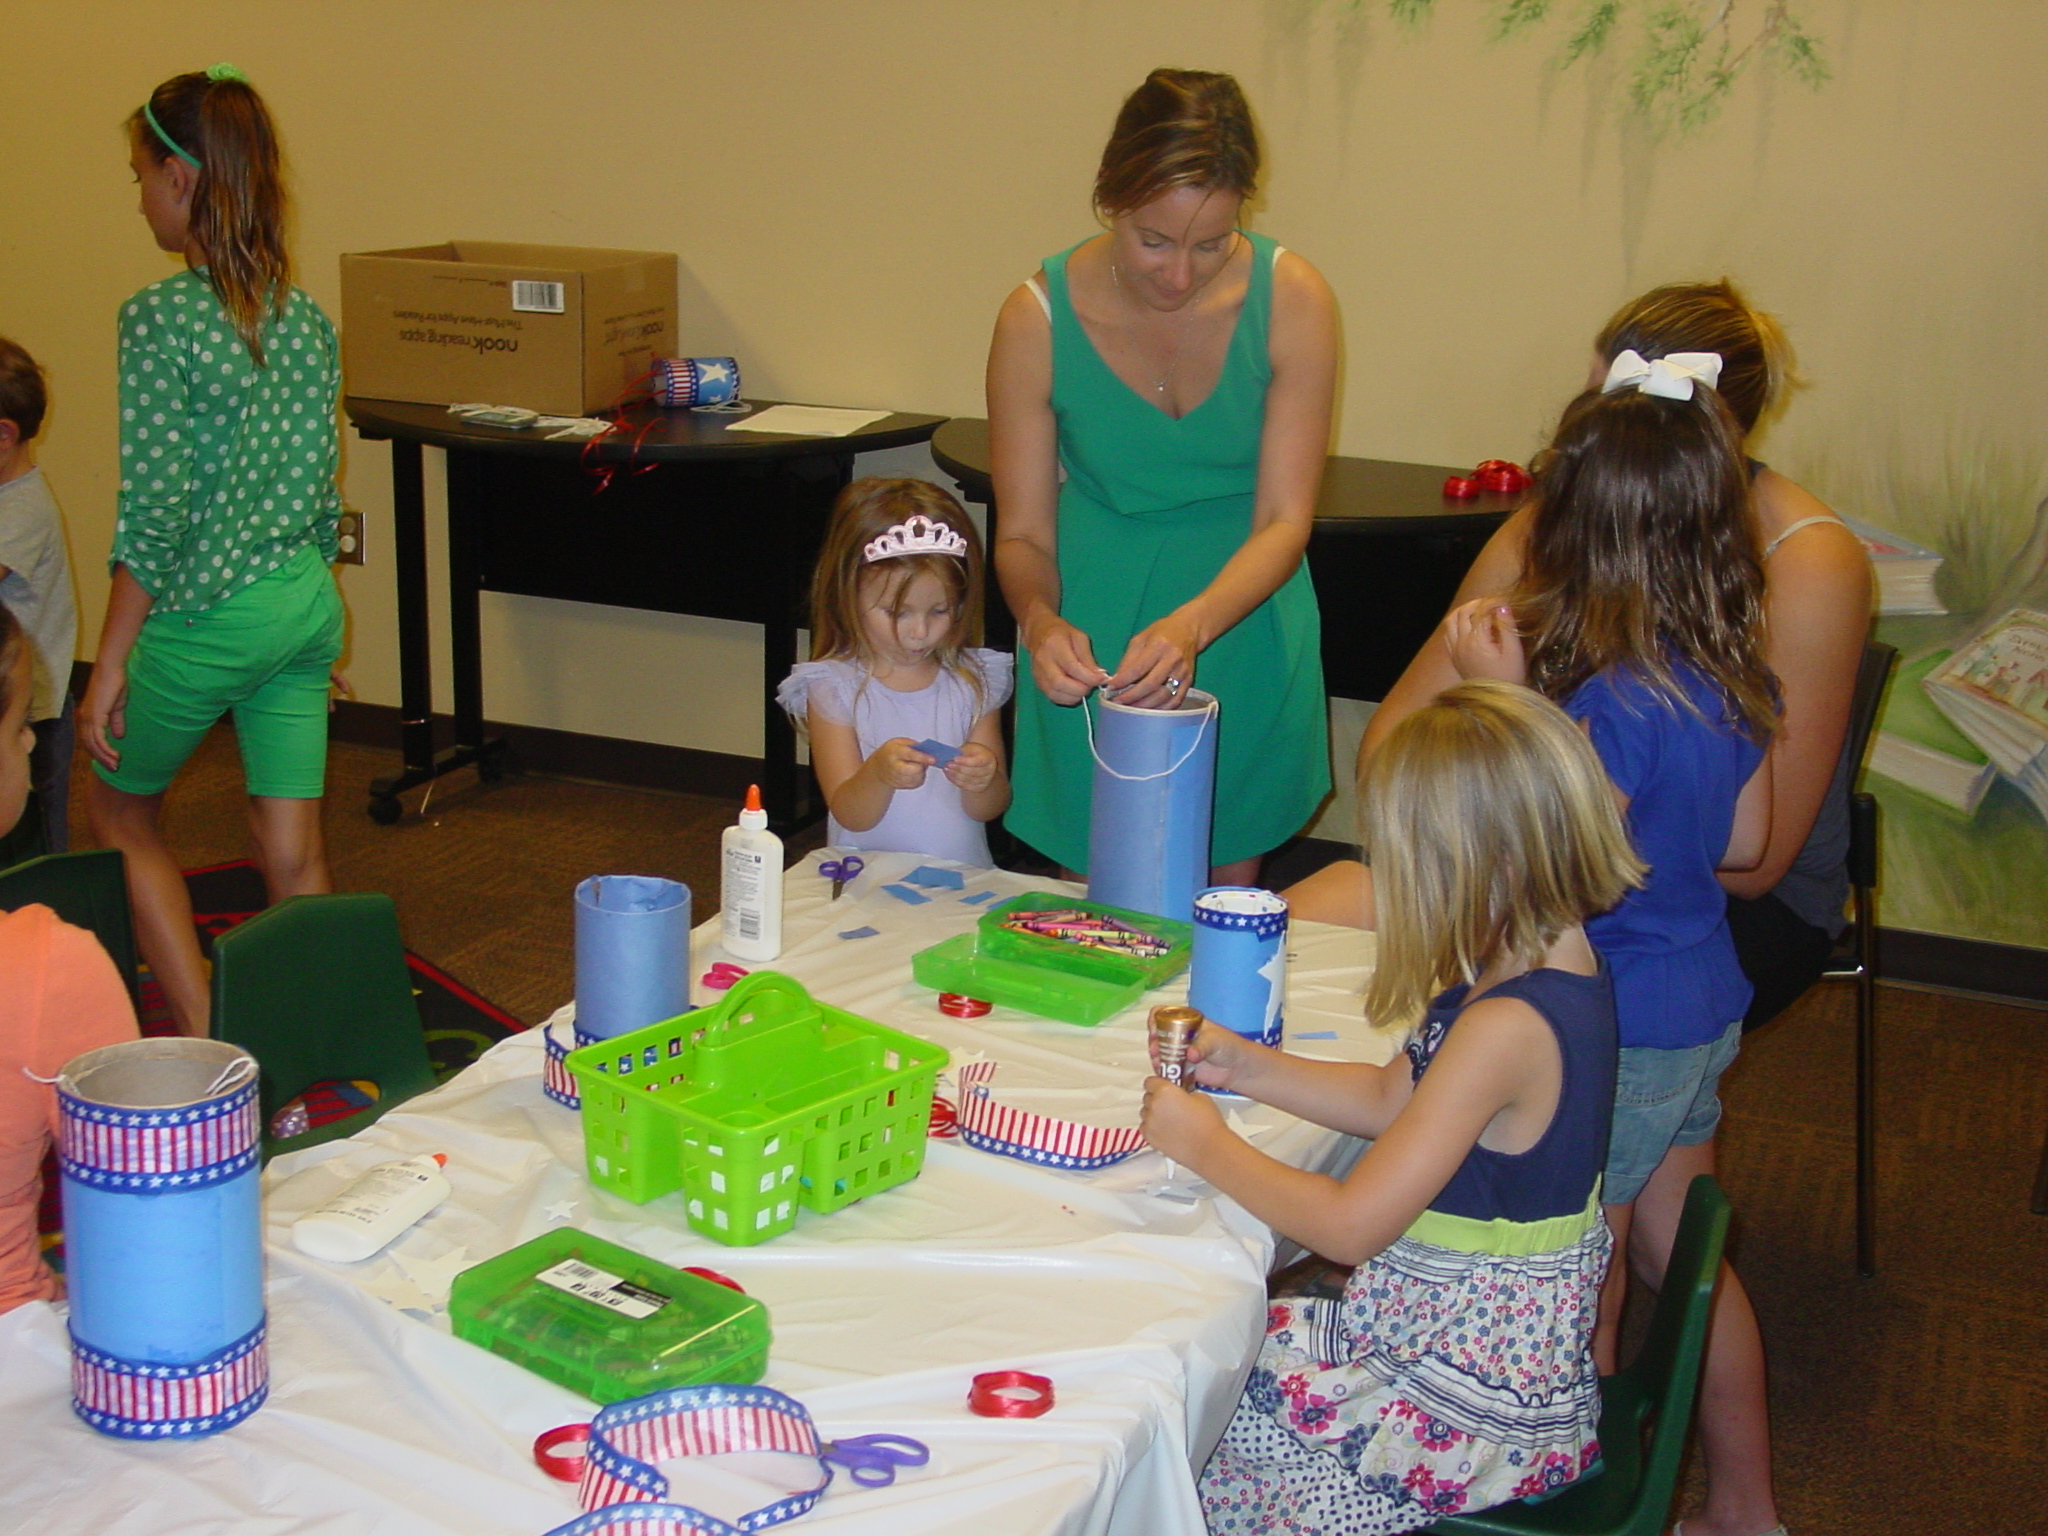
When September 1st rolled around, I realized something terrifying: I had exactly $20 left in my Teen Budget until mid October. It wasn’t entirely unexpected. My annual budget is miniscule. Still, $20 is awfully tiny – especially when you’ve got a Teen Craft to host.

So I did some surfing on Pinterest and discovered DIY Mugs, specifically Sharpie mugs in a variety of colors and designs.

I do NOT recommend using regular sharpies (see below for more details), but this craft IS cheap, user-friendly, and lots of fun.

Supplies:

  • cheap, white mugs
  • ceramic paints OR oil-based paint markers
  • paintbrushes
  • bowls of water
  • hair dryer
  • tape / stencils / sponges / misc design materials
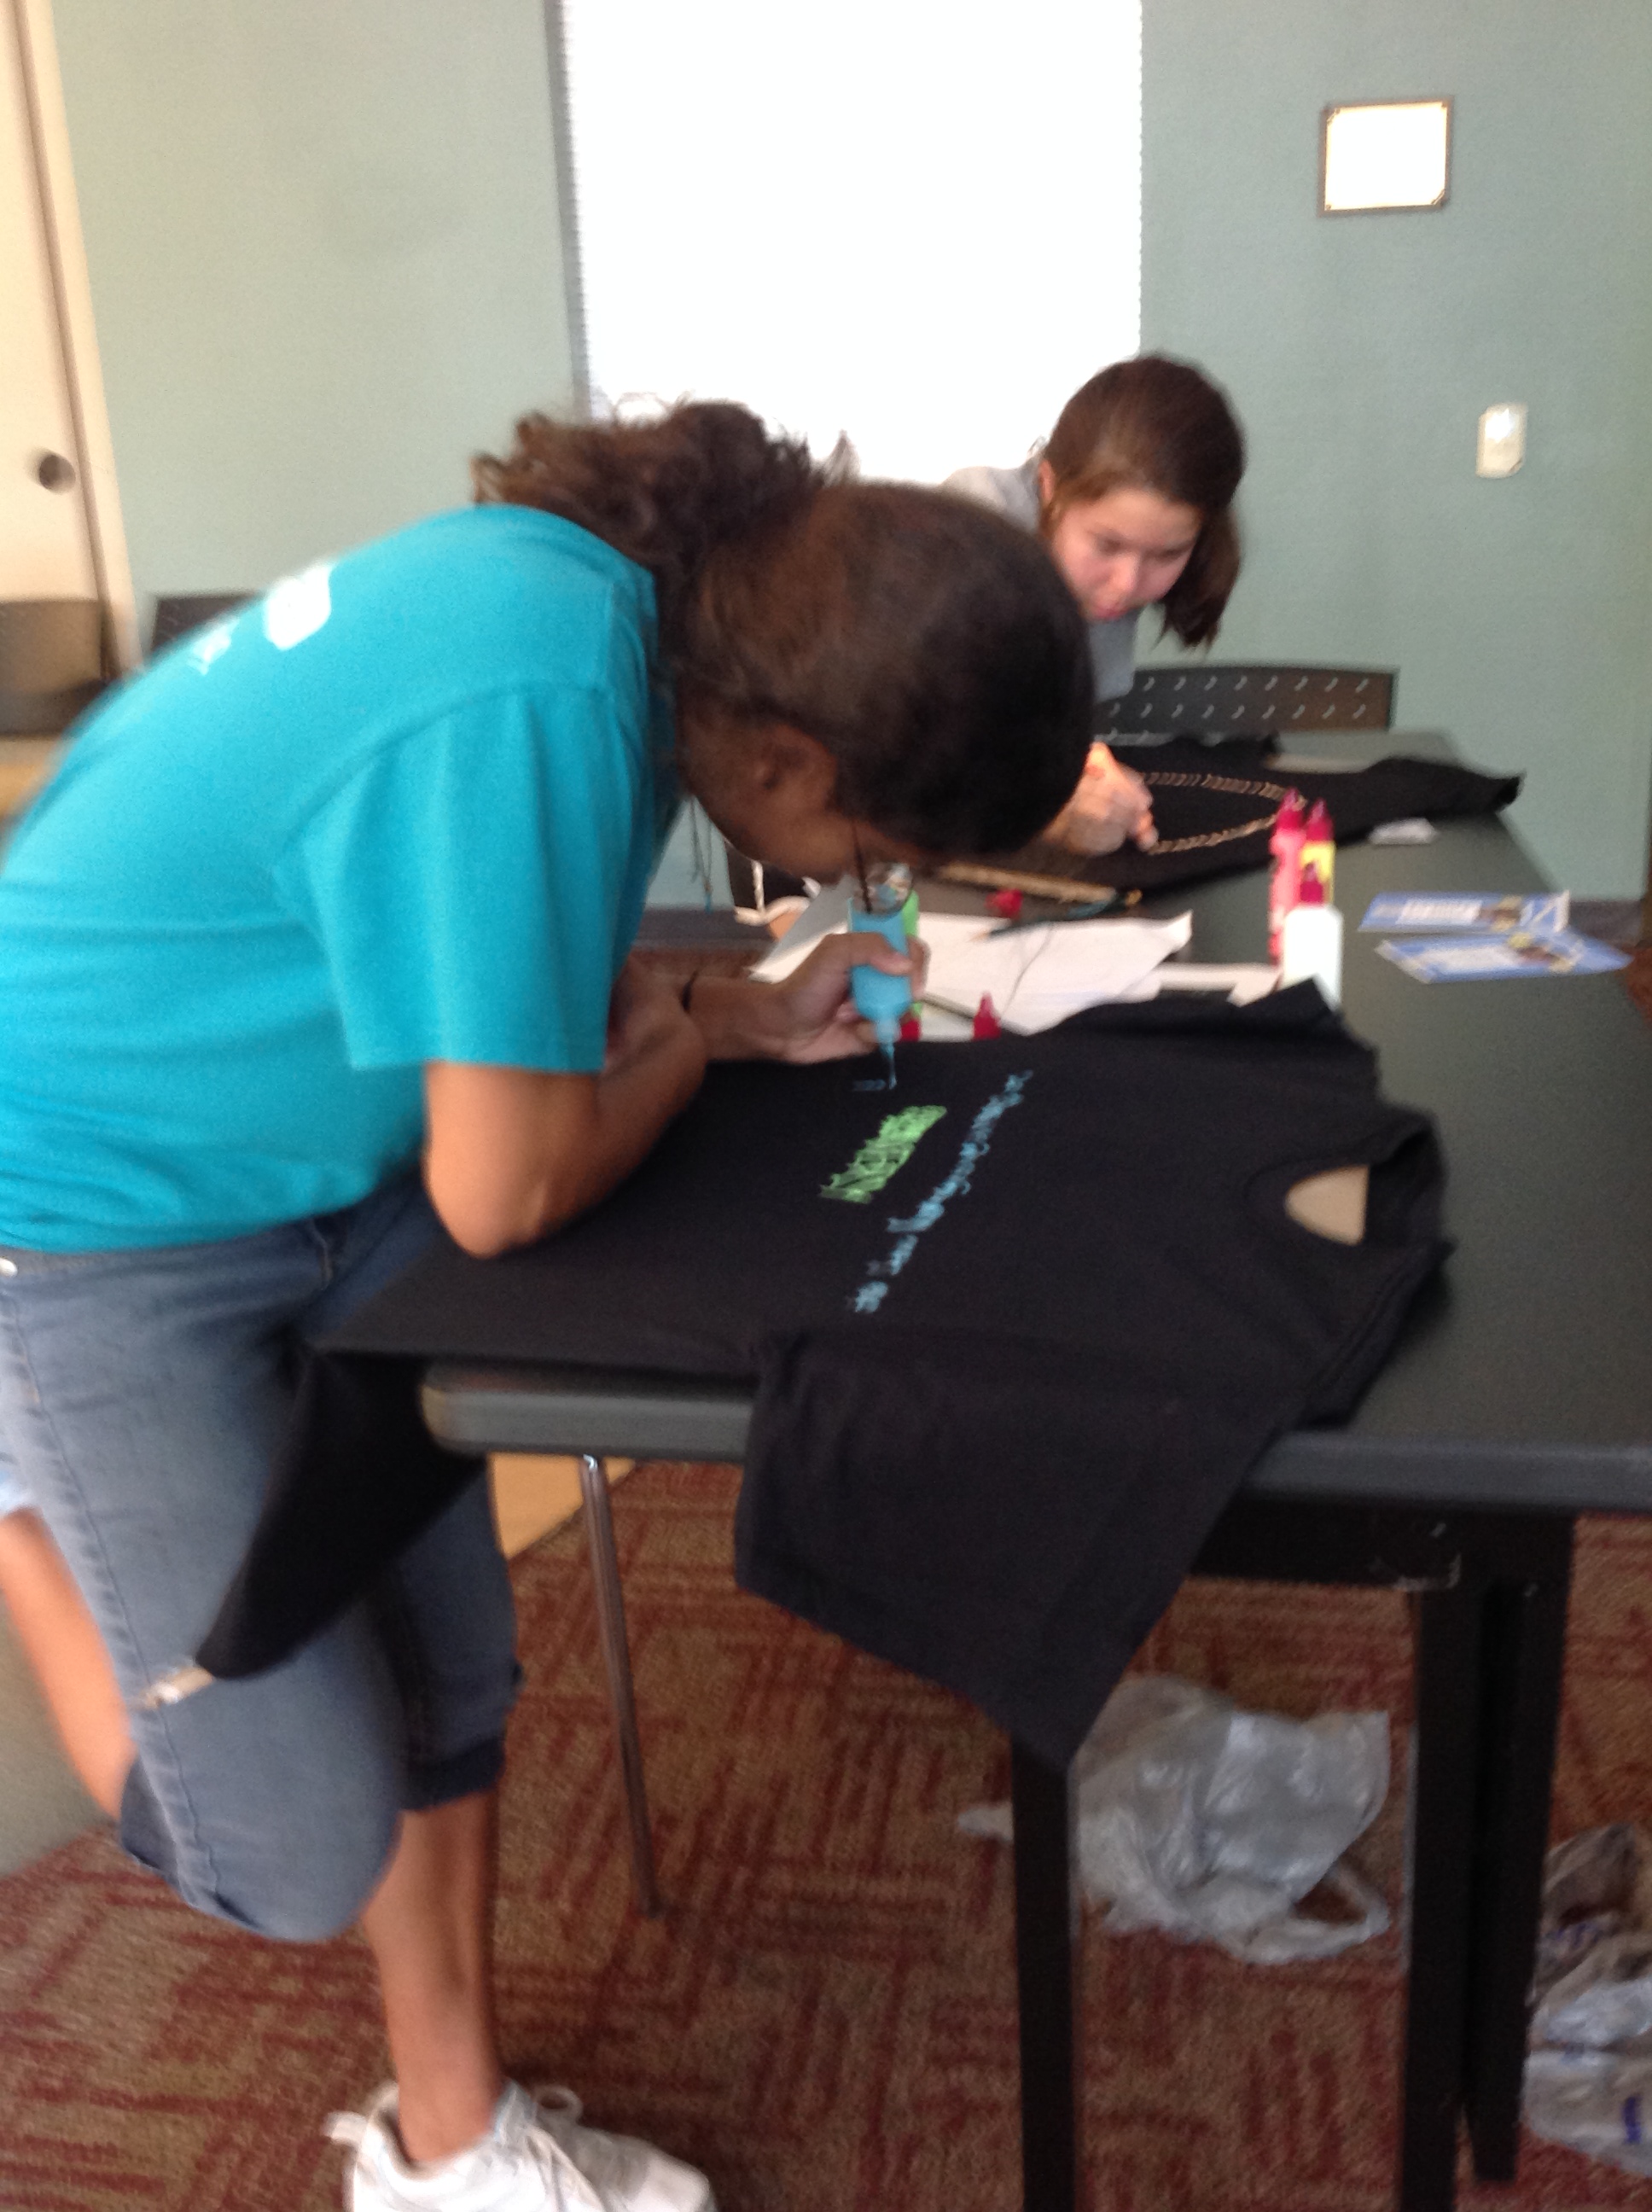
Step 1: Decoratemug7

If you plan on drinking from your mug, place a piece of tape around the top (or just avoid painting the top). Otherwise, youโ€™ll be ingesting chemicals that could be toxic. Also, you MUST use ceramic paints OR oil based markers to create your design.

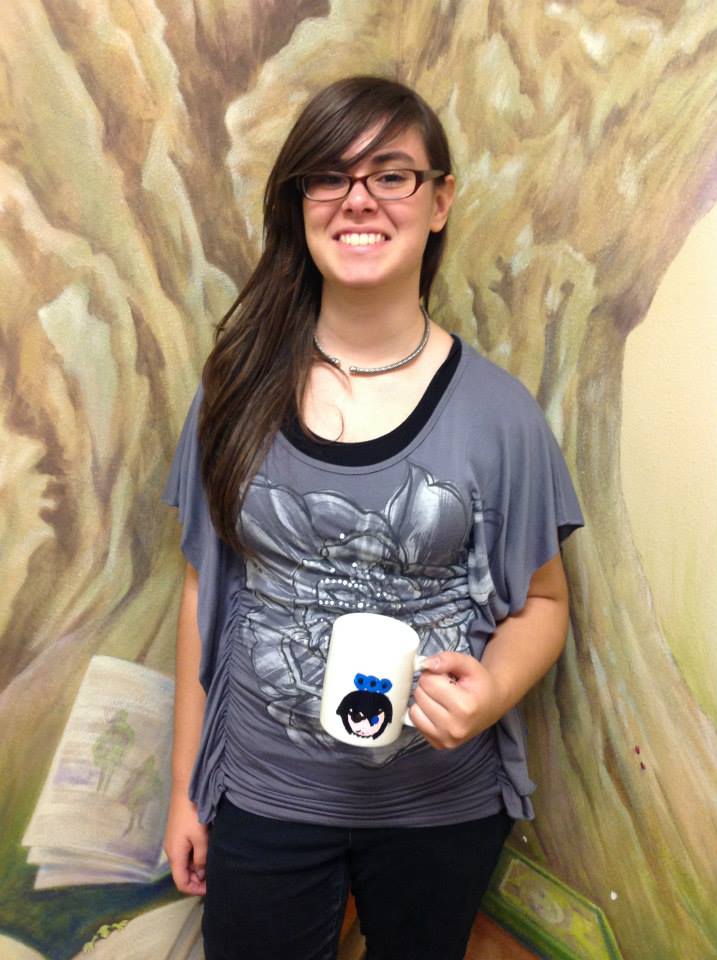
I made the mistake of using regular Sharpies on my example mug. Despite following the directions I found in various Pinterest tutorials, all my artwork washed off instantly the first time I cleaned it. Guess I should’ve remembered the old saying that “If it sounds too good to be true, it probably is.”

So make sure you learn from my mistake: only use oil-based Sharpies/markers or ceramic paint.

mug5

Step 2: Bake Your Mug

Put your mug in the oven. Set it to 360 degrees. DO NOT PREHEAT THE OVEN. Otherwise, your mug will crack. Set the timer for 30 minutes. When the timer rings, turn off your oven but LEAVE THE MUG INSIDE. Wait until the oven is completely cool before taking your mug out.

Pro Tip: Be patient. It takes at least an hour to cool.


Step 3: Seal Your Mug (optional)

mug6

Some crafters online have done just fine by following the directions above. They’ve microwaved, scrubbed, and drank from their mugs and the colors are still vibrant. Others, however, have complained that their mugs designs fade over time.

The best way to prevent this is to spray your mug with an acrylic sealer. I used ModPodge’s Matte Acrylic Spray.

IMPORTANT: acrylic sealers are not food safe. Make sure you only spray on your design โ€“ not where your lips will be!

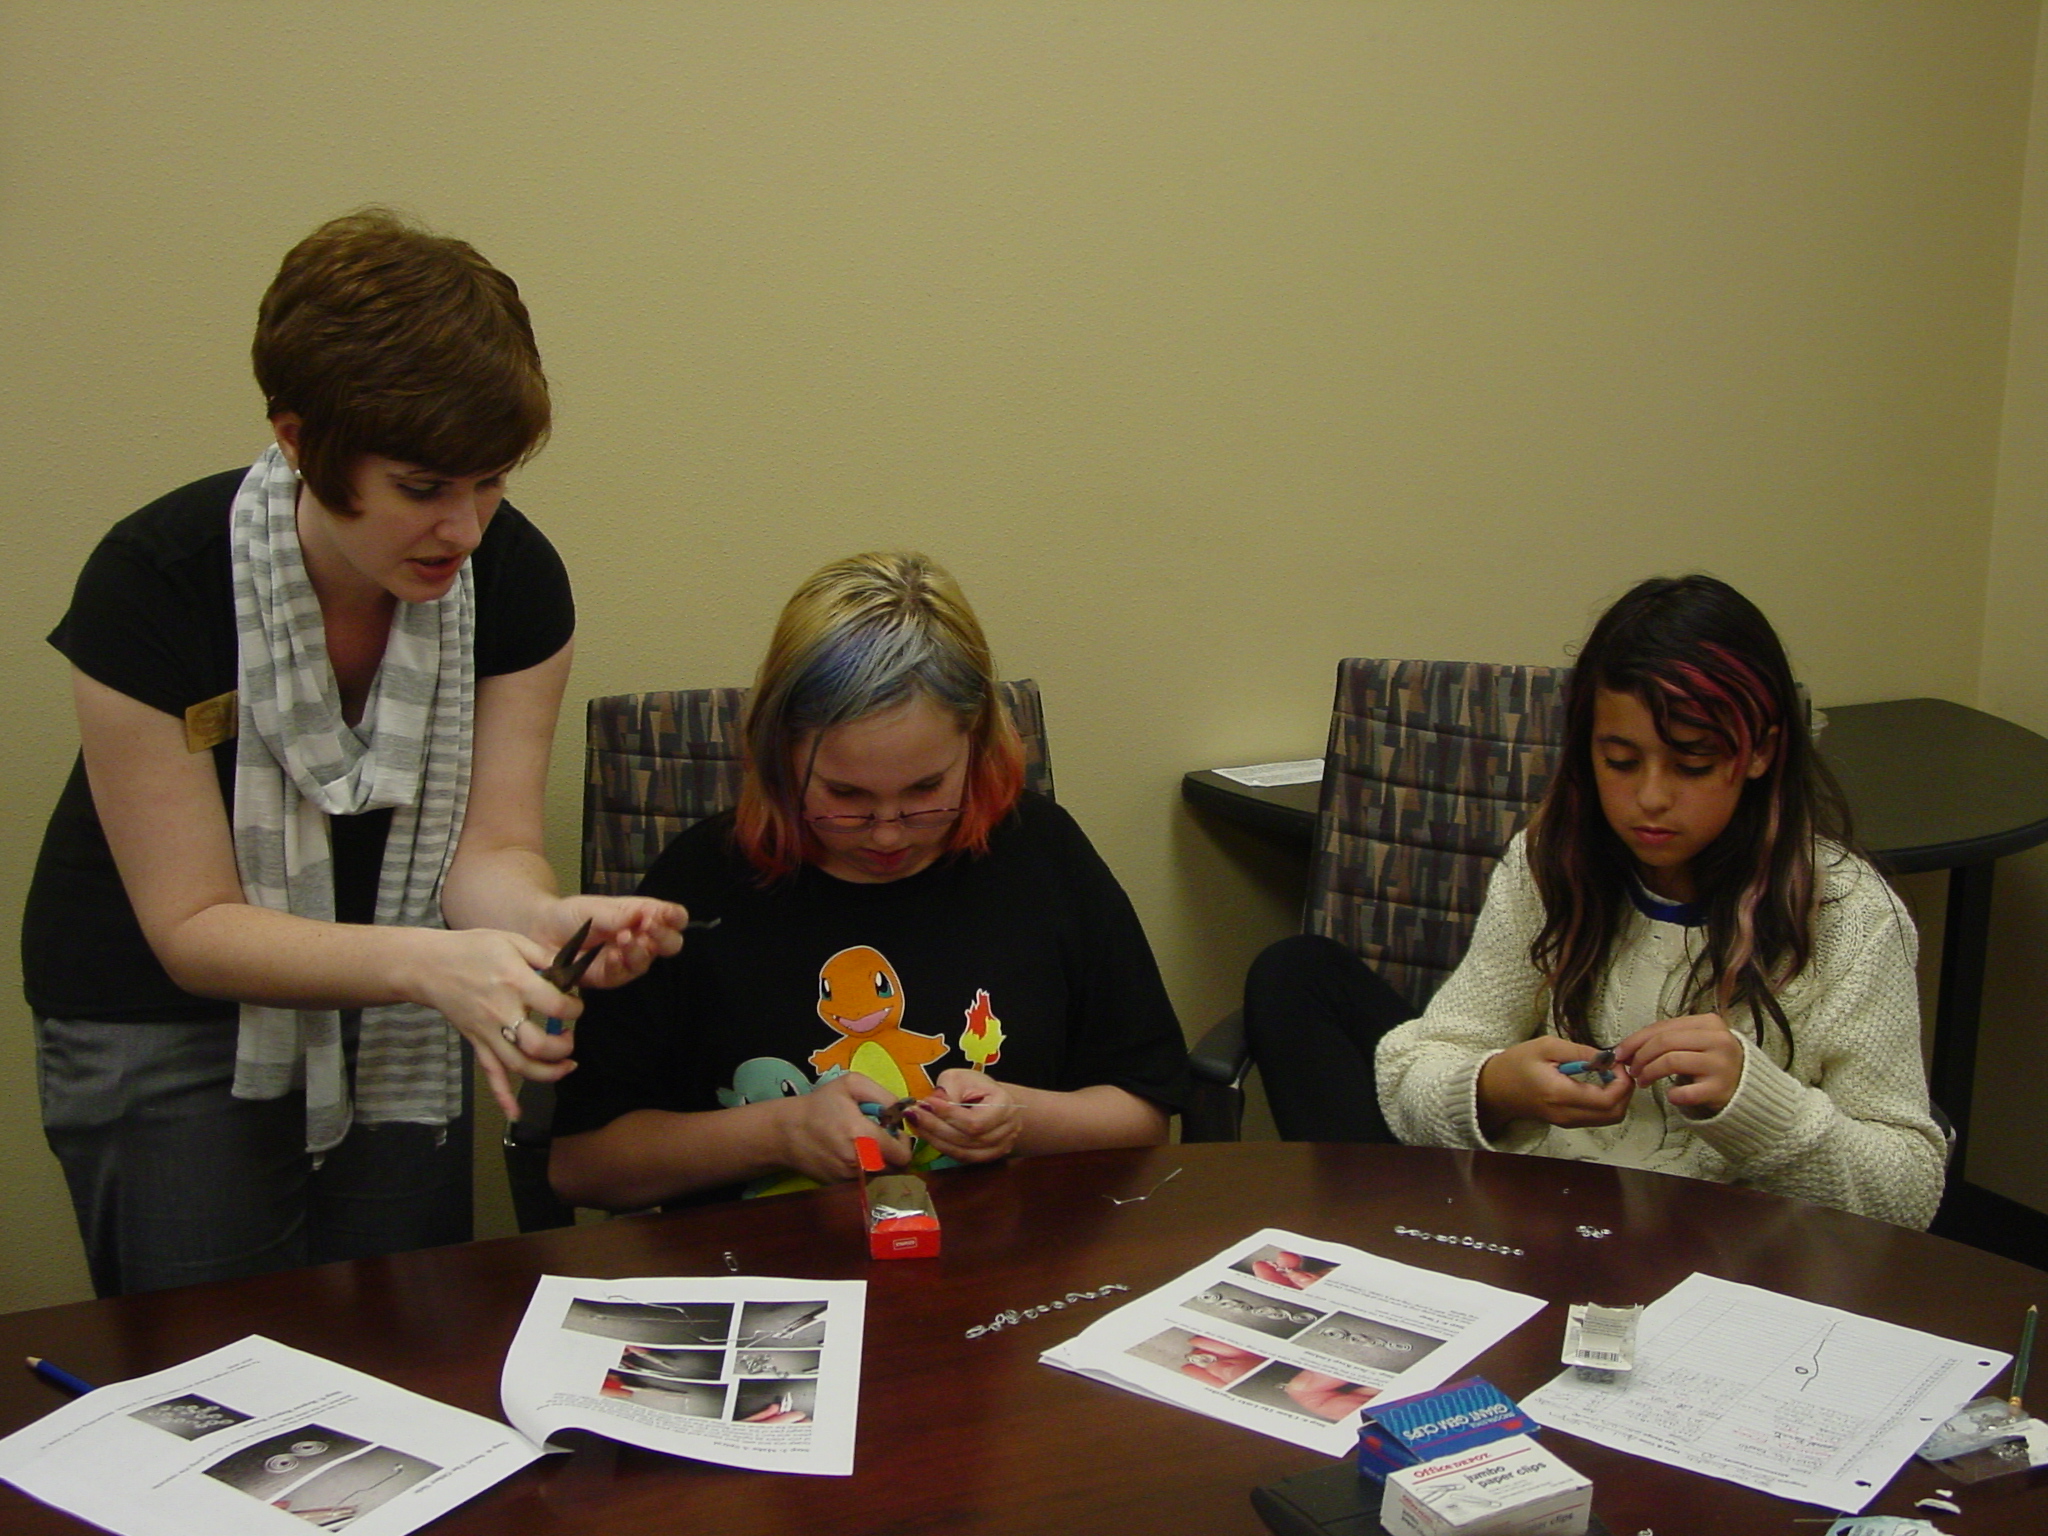
All of our craft supplies were purchased at at Michaelโ€™s. I was able to get both the paint and the mugs for $20! Bonus: this craft is fun for kids of all ages – not just the teens. I highly recommend this craft! We can’t wait to do it again.

mug4

Teen Craft: Glow-in-the-Dark T-shirts

IMG_1529To finish out our Summer Reading Program, ” I decided to host a “Glow-in-the-Dark” T-shirt craft. The beauty of this craft is that it’s ridiculously simple. All you have to do is cut out some cardboard, supply the paints, and let the teens loose!

Supplies:

– cardboard & a box cutter

–ย Tulip Glow Fabric Paints

Have the teens stretch their t-shirts over the pieces of cardboard. This will allow the shirts to lay flat as the paint dries (4 hours) and make it easier to take the shirts home (even while wet). Make sure to pre-measure and cut the cardboard pieces ahead of time. I used a medium-sized t-shirt to help me estimate the appropriate size.

IMG_1534

Once the shirts are on the board, the rest is up to the teens! They can decorate however they see fit till they run out of paint.ย 

In total, we had 9 tweens and teens show up for this craft. And it only cost us $40! We’ll be bringing this one back again. ๐Ÿ™‚

IMG_1540

IMG_1536IMG_1538

How to Make Your Own TARDIS

Running to catch the Doctor!

Running to catch the Doctor!

Tomorrow is “Doctor Who Day” at our library, which means a swarm of tween and teen Whovians will be descending on our library. So I thought I’d create a TARDIS for the kids to pose and take pictures with.The process of making the TARDIS is actually pretty simple. It just takes a lot of time and patience. And a lot of paint.

Supplies:

– cardboard boxes

– wood glue

– paint (both spray and traditional)

– paper and tape

Step 1: Build the TARDIS

I highly recommend getting a large refrigerator box. However, since one wasn’t available, we had to use various boxes from U-Haul. We tried to get boxes that were approximately the same width (though the lengths were a little off). We’ll be hiding the “ugly” side in a corner where no one will see those uneven edges. ๐Ÿ™‚

If you’re using multiple boxes like I did, simply stack them on top of each other. Then adhere them using the wood glue.

Note: You may want to use some books or other heavy objects to press the boxes together until the wood glue dries.

Building the TARDIS

Building the TARDIS

Step 2: Tape off sections

Using scrap paper that I cut to size, I taped of the sections of the TARDIS that I knew weren’t going to be blue: the windows, signs, etc. By covering these sections, it protected them from the spray paint so that it would be easier to paint them another color later.

004

Step 3: Spray paint

This one’s pretty self explanatory. ๐Ÿ™‚

DSC01892

Step 4: Paint your additional sections

After removing the paper, I painted the remaining large sections: the windows, the signs, etc. Make sure to take your time here. Multiple coats might be required to get the colors right.

DSC01893


Step 5: The Finishing Touches

After the base coats were completed, we added the final details: the bars on the windows, the words on the signs, etc. We even painted a styrofoam cup to look like the lantern on the original police box. We then glued the cup to the top of the boxes and presto! Insta-TARDIS!

CAM00460


If you have any questions, feel free to drop me a line! The “Doctor Who Day” post will be up soon! Till then, hang tight Whovians. ๐Ÿ™‚

Teen Craft: Celestial Lamp

10489977_10152191248496778_3538135555116919174_nAs part of our Teen Summer Reading Program, “Spark a Reaction,” I thought a craft featuring electricity would be a perfect fit! This craft is fairly simple and user friendly. Plus it will cast beautiful designs on your wall in a dark room!

Supplies:
– poster board
– Martha Stewart’s Star Punch
-hot glue + gun
– scissors
– a 2 ft strand of Christmas lights
– 1 small, round wooden box


Step 1:

If your box has a lid, detach it and throw it away. Trace around your circular box on the poster board to create the “top” of your lamp. Then wrap the poster board around your box to measure and mark the width of your lamp’s “body.”

Step 2:
Cut out the pieces you measured. Punch as many stars as you like into the poster board.

10389966_10152191248581778_7948824225659580782_n

Step 3:
Hot glue the lamp “body” to the wooden box. Drop your Christmas lights into the lamp and thread the cord out through any stars you have in the back. Then hot glue your “top” on.

10390092_10152191248541778_7762684501205413491_n 10342409_10152191248476778_7647918986388980111_n

Step 4: Plug it in and enjoy!

10446518_10152191248621778_8496214390953246111_n

Children’s Craft: Memorial Day Wind Streamer

Oh, Martha Stewart. How do I love thee? Let me count the ways…

This photo is accredited to marthastewart.com

This photo is accredited to marthastewart.com

Our May Memorial Day craft comes to you courtesy of Martha Stewart’s webpage, where detailed directions on how to make our lovely, patriotic wind streamer can be found.

Supplies:

– blue construction paper

– red and white ribbon

– white, cut-out stars

– glue sticks

– cardboard oatmeal containers

– a box cutter

You’ll need to make use of your Ellison Die machine for this one. I highly recommend pre-cutting both the stars and the ribbons to their appropriate lengths. It will also take a fair amount of time to cut the bottoms out of the oatmeal containers. Make sure you do so ahead of time to avoid pressure at the last minute.

This craft is a lot of fun and is pretty user-friendly. It also appeals to a wide age range; both our preschoolers and elementary-aged students enjoyed this one. ๐Ÿ™‚

025

028