Our Summer Reading Program for both kids and teens this year is science-based, so what better way to encourage an interest in science than by tapping into one of the greatest sci-fi stories of all time: Star Wars!

Lord Vader did not approve of my “Rebel” T-shirt. 😉
We decided to make Star Wars Day a multi-age event, with programs for little ones in the morning and activities for tweens and teens in the afternoon. In essence, we hosted an all-day Star Wars book bash.
The Food & Decorations
I really wanted our patrons to to feel immersed in the Star Wars universe when they walked in the door, so we hung tie-fighters and x-wings from the ceiling. We created them by printing mirror images on cardstock; then we glued the images together, punched a hole in the top of them, and strung them up using thin, white, thread (which looks invisible to the naked eye). We also made a paper mache Death Star, but it ended up looking more like a Death Egg. We’ll have to blow the balloon smaller next time! 😉
Other decorations included blue and black star balloons and a homemade pennant banner. And, by some strange stroke of luck, my boyfriend’s mother stumbled across his childhood Star Wars action figures, which we used to help add character to each of our tables. And, of course, we had cardboard standees of R2D2, C3PO, and Yoda.
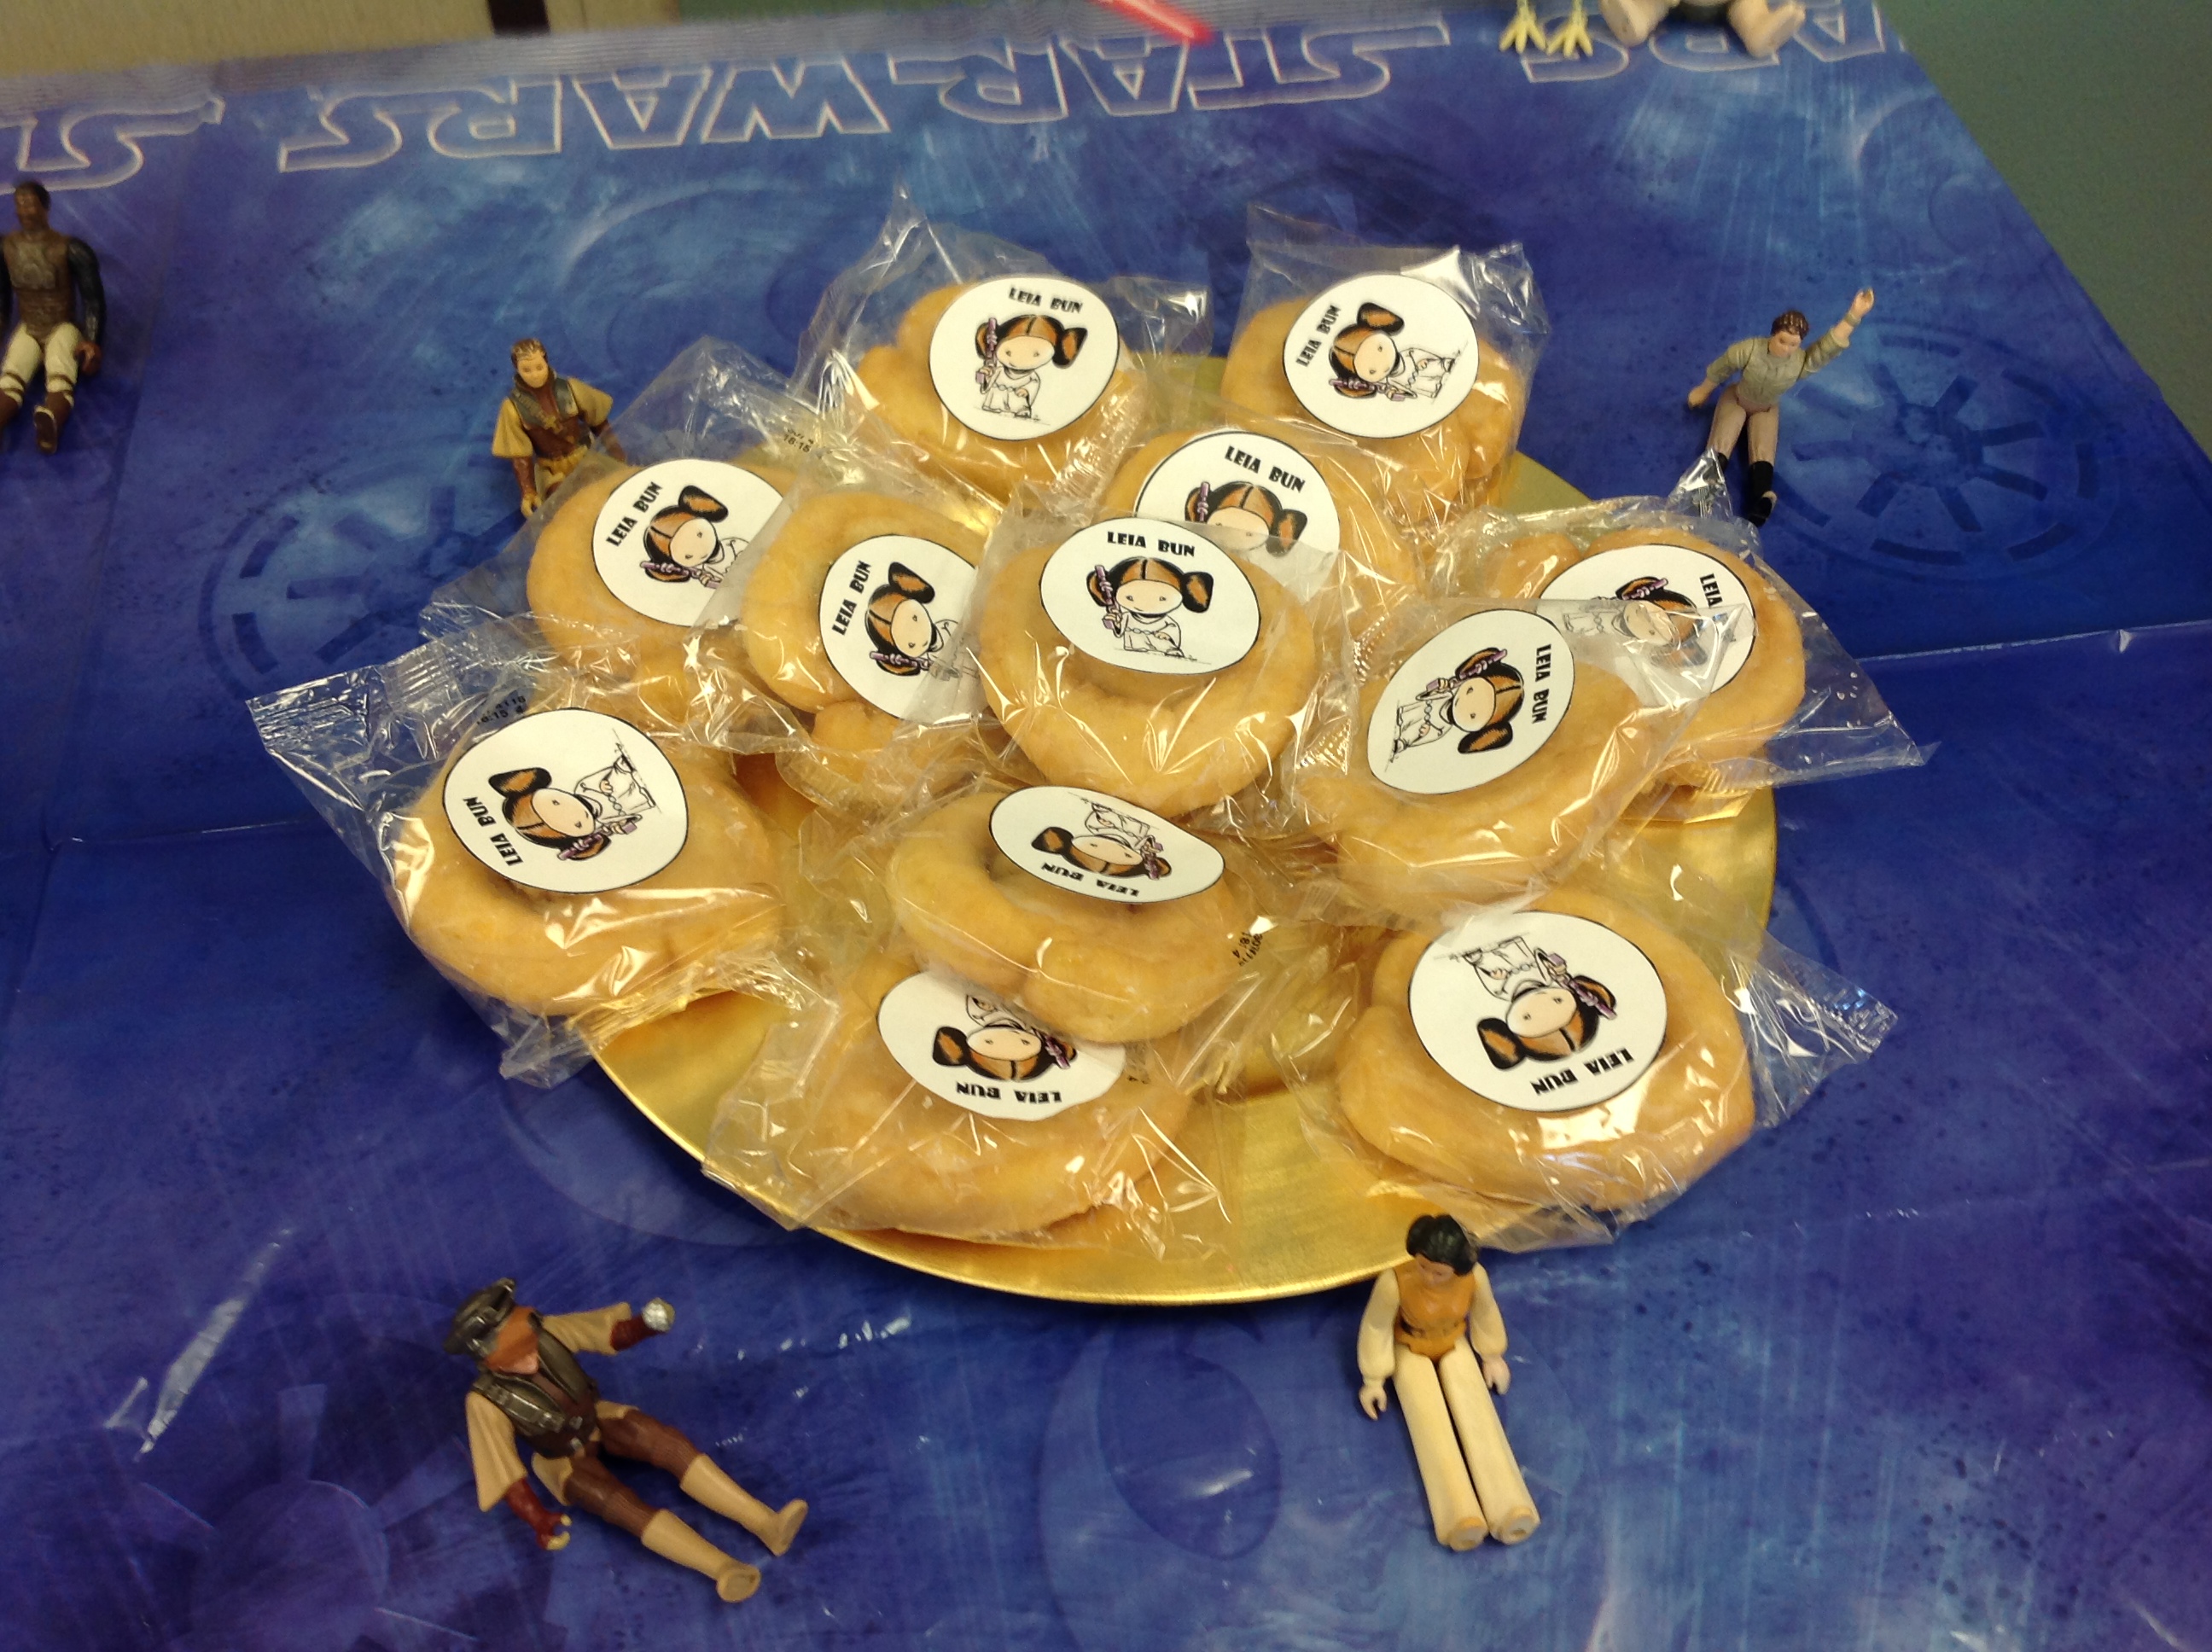
We wanted the food to be as “themed” as possible, but with a limited budget and time constraints we had to get creative. So I hunted through Pinterest, naturally, and found dozens of cute ideas. I used Microsoft Publisher to create custom labels for all our foods. We ended up going with Wookie Cookies (Star Crunches), Leia Buns (Honey Buns), Ewok Treats (Teddy Grahams), and Thermal Detonators (Whoppers). We also had popcorn and Yoda Soda (Mountain Dew) for the older kids.


 Children’s Activities
Station 1: Crafts
We had three basic craft options available for our kids. They could color/make a Yoda Mask or Princess Amidala crown, they could make a space-themed door hanger, or they could enjoy some of our Star Wars coloring sheets.  Station 2: Games
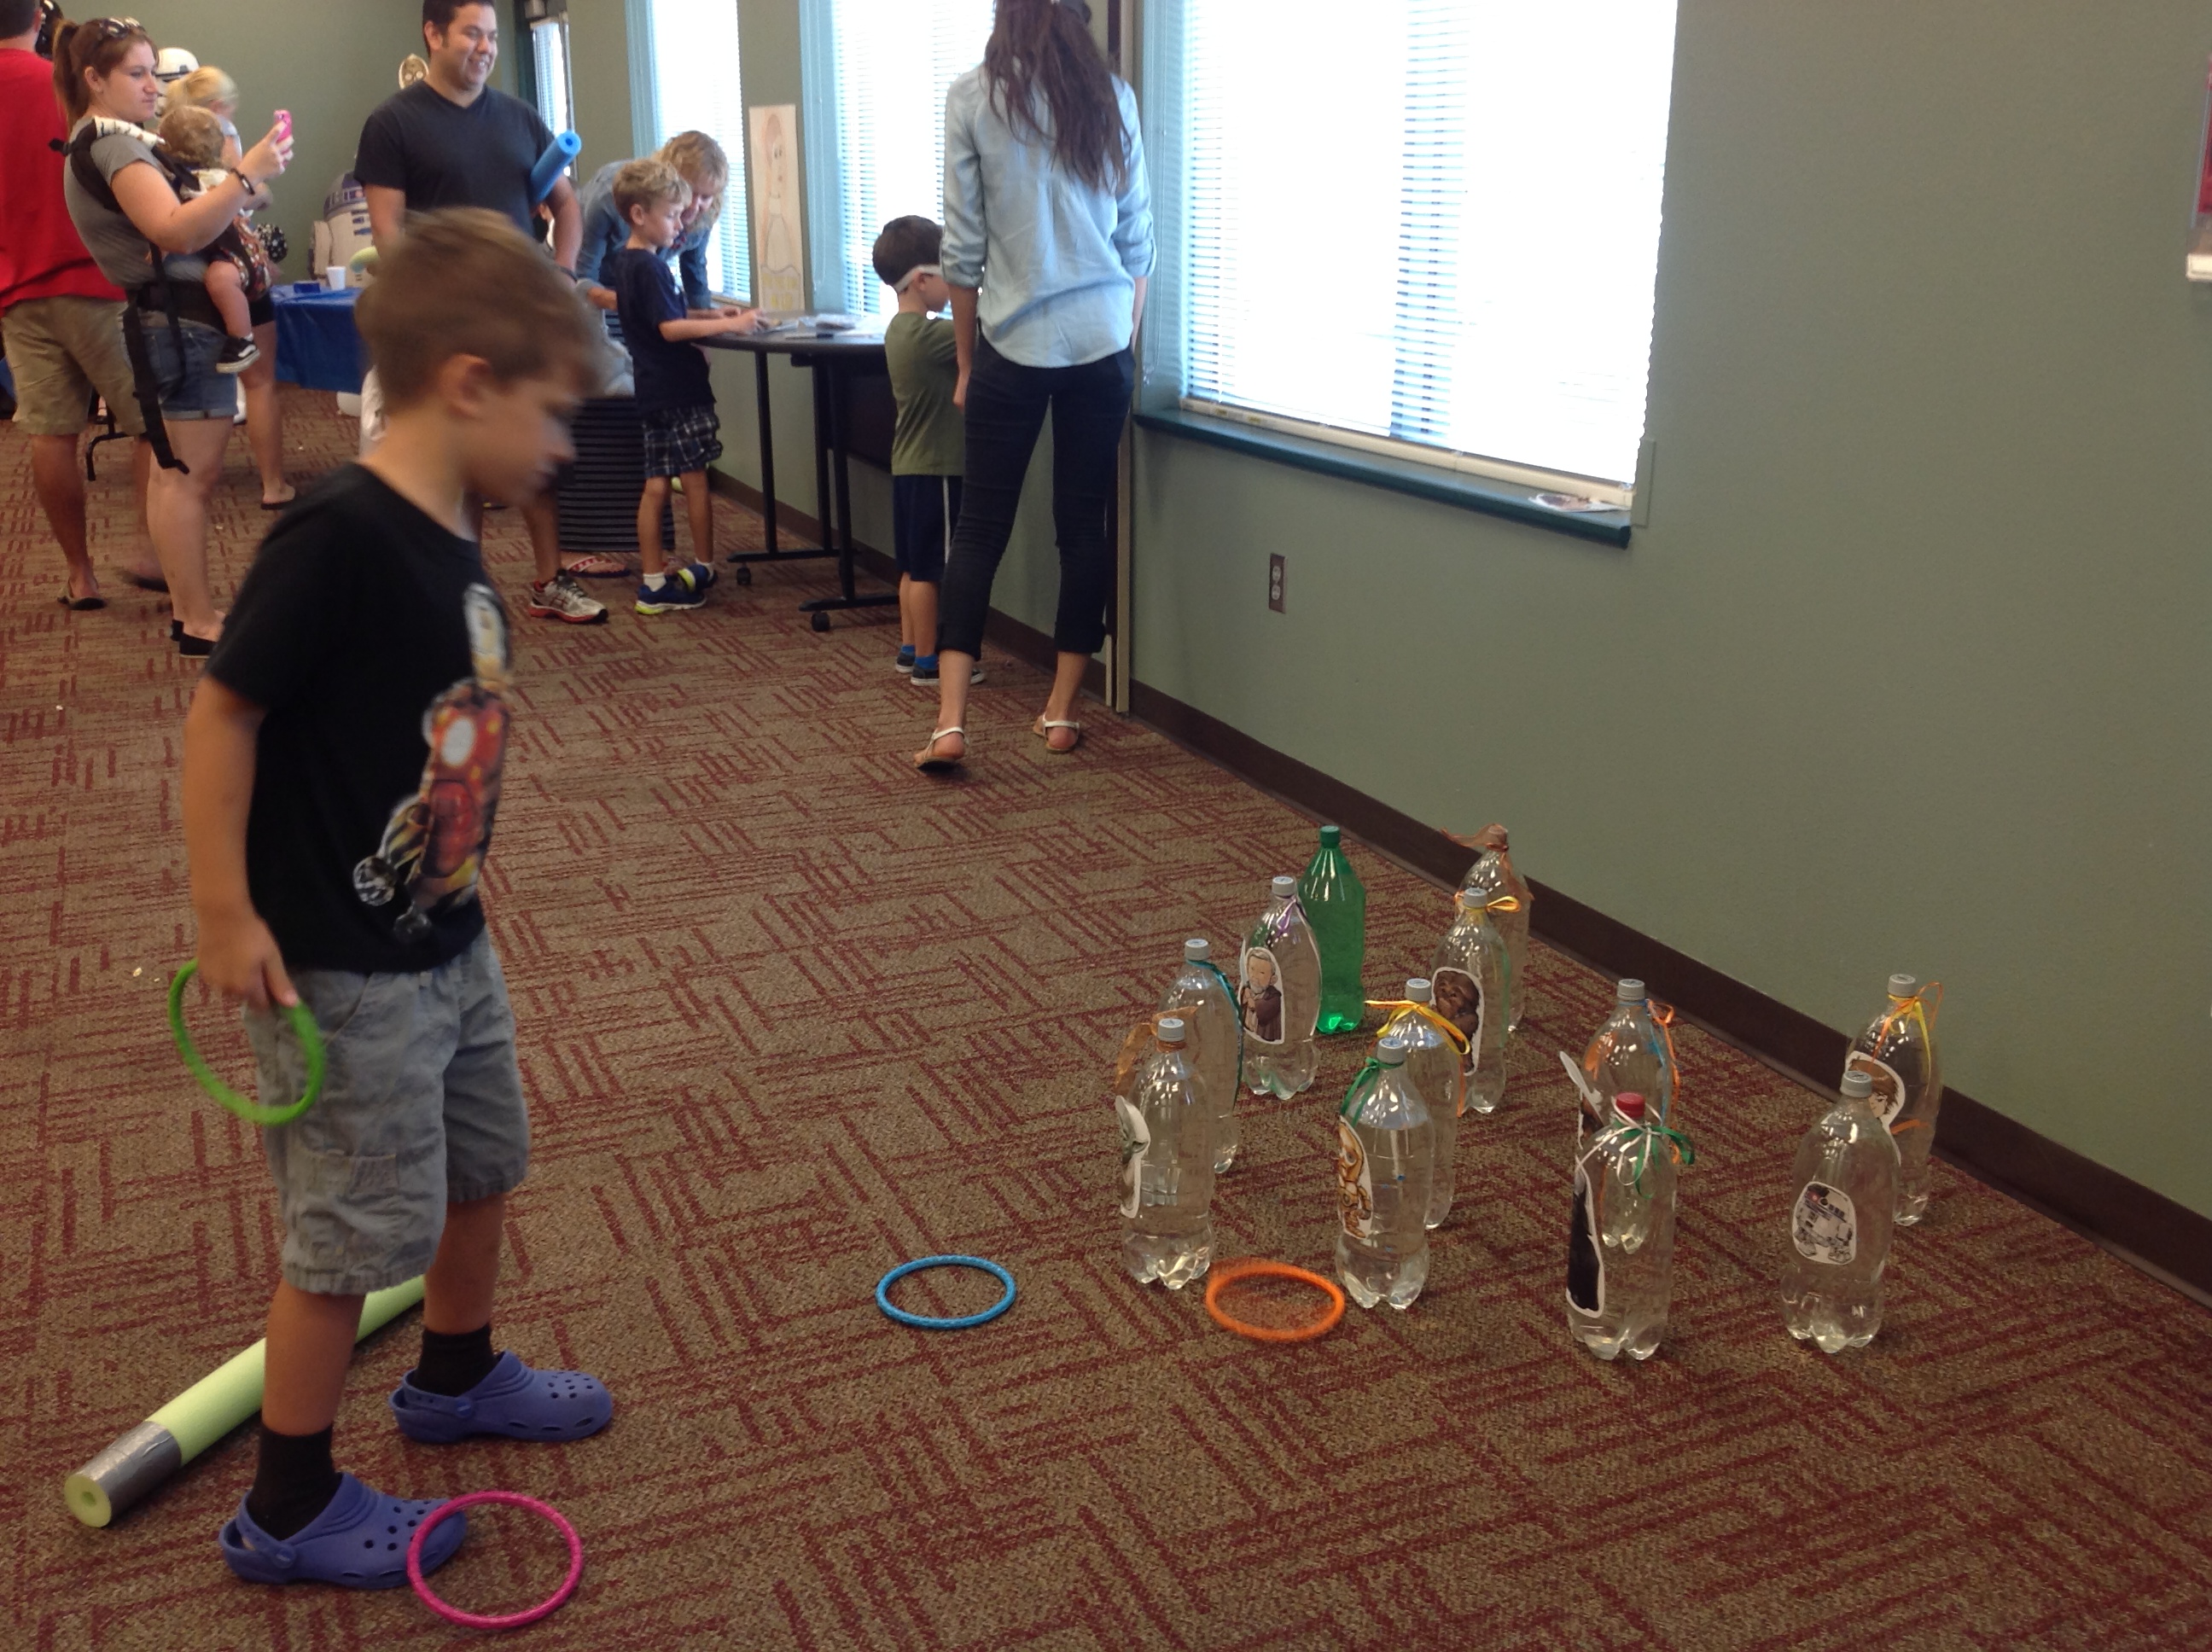
We had two posters drawn up by some of our lovely teen volunteers so that the kids could play “Pin the Bun on Leia” and “Pin the Lightsaber on Yoda.” We also had a Star Wars Ring Toss, in which we taped printed images of various characters on to 2 liter bottles and lined them up.

Station 3: Jedi Academy
I borrowed this idea from Kelly on Here Comes the Sun. Her DIY lightsaber idea has been shared numerous times on Pinterest. So easy. So brilliant. Grab a few pool noodles, cut them in half, wrap the ends in duct tape and voila! Instant, kid-safe lightsaber.
We decided to kick things up a notch by putting our padawans through their paces at the Jedi Academy. We blew up about twenty balloons (no helium) and gave one to each child. Then, after counting to three, we had the kids throw the balloons in the air! The kiddos then had to keep their balloons in the air for two minutes using only their lightsaber. When they finished, each child got a Jedi Knight Certificate and a piece of candy.

Station 4: Video Games
Simple, easy, and effective. We hooked our Wii system up to the projector and let the kiddos go to town on Lego Star Wars and Star Wars Angry Birds.

Teen Activities
Crafts
Our teens had a choice between two crafts:
1) A Star Wars Marble Magnet
2) A Star Wars Bottle Cap Key Chain
These crafts and dozens more can be found in the Star Wars Craft Book, which proved to be an invaluable resource while planning this event!

Light Saber Dueling Lessons
I wanted the teen program to be “edgier” than the one we provided for the kids, so what better way to spice things up than with a professional sword fighting lesson?
Paul Stonebridge, a local librarian who happens to be skilled in swordsmanship and martial arts, graciously came to our branch to teach our tweens and teens. They learned the eight basic sword fighting moves and four basic blocks commonly used in the movies.
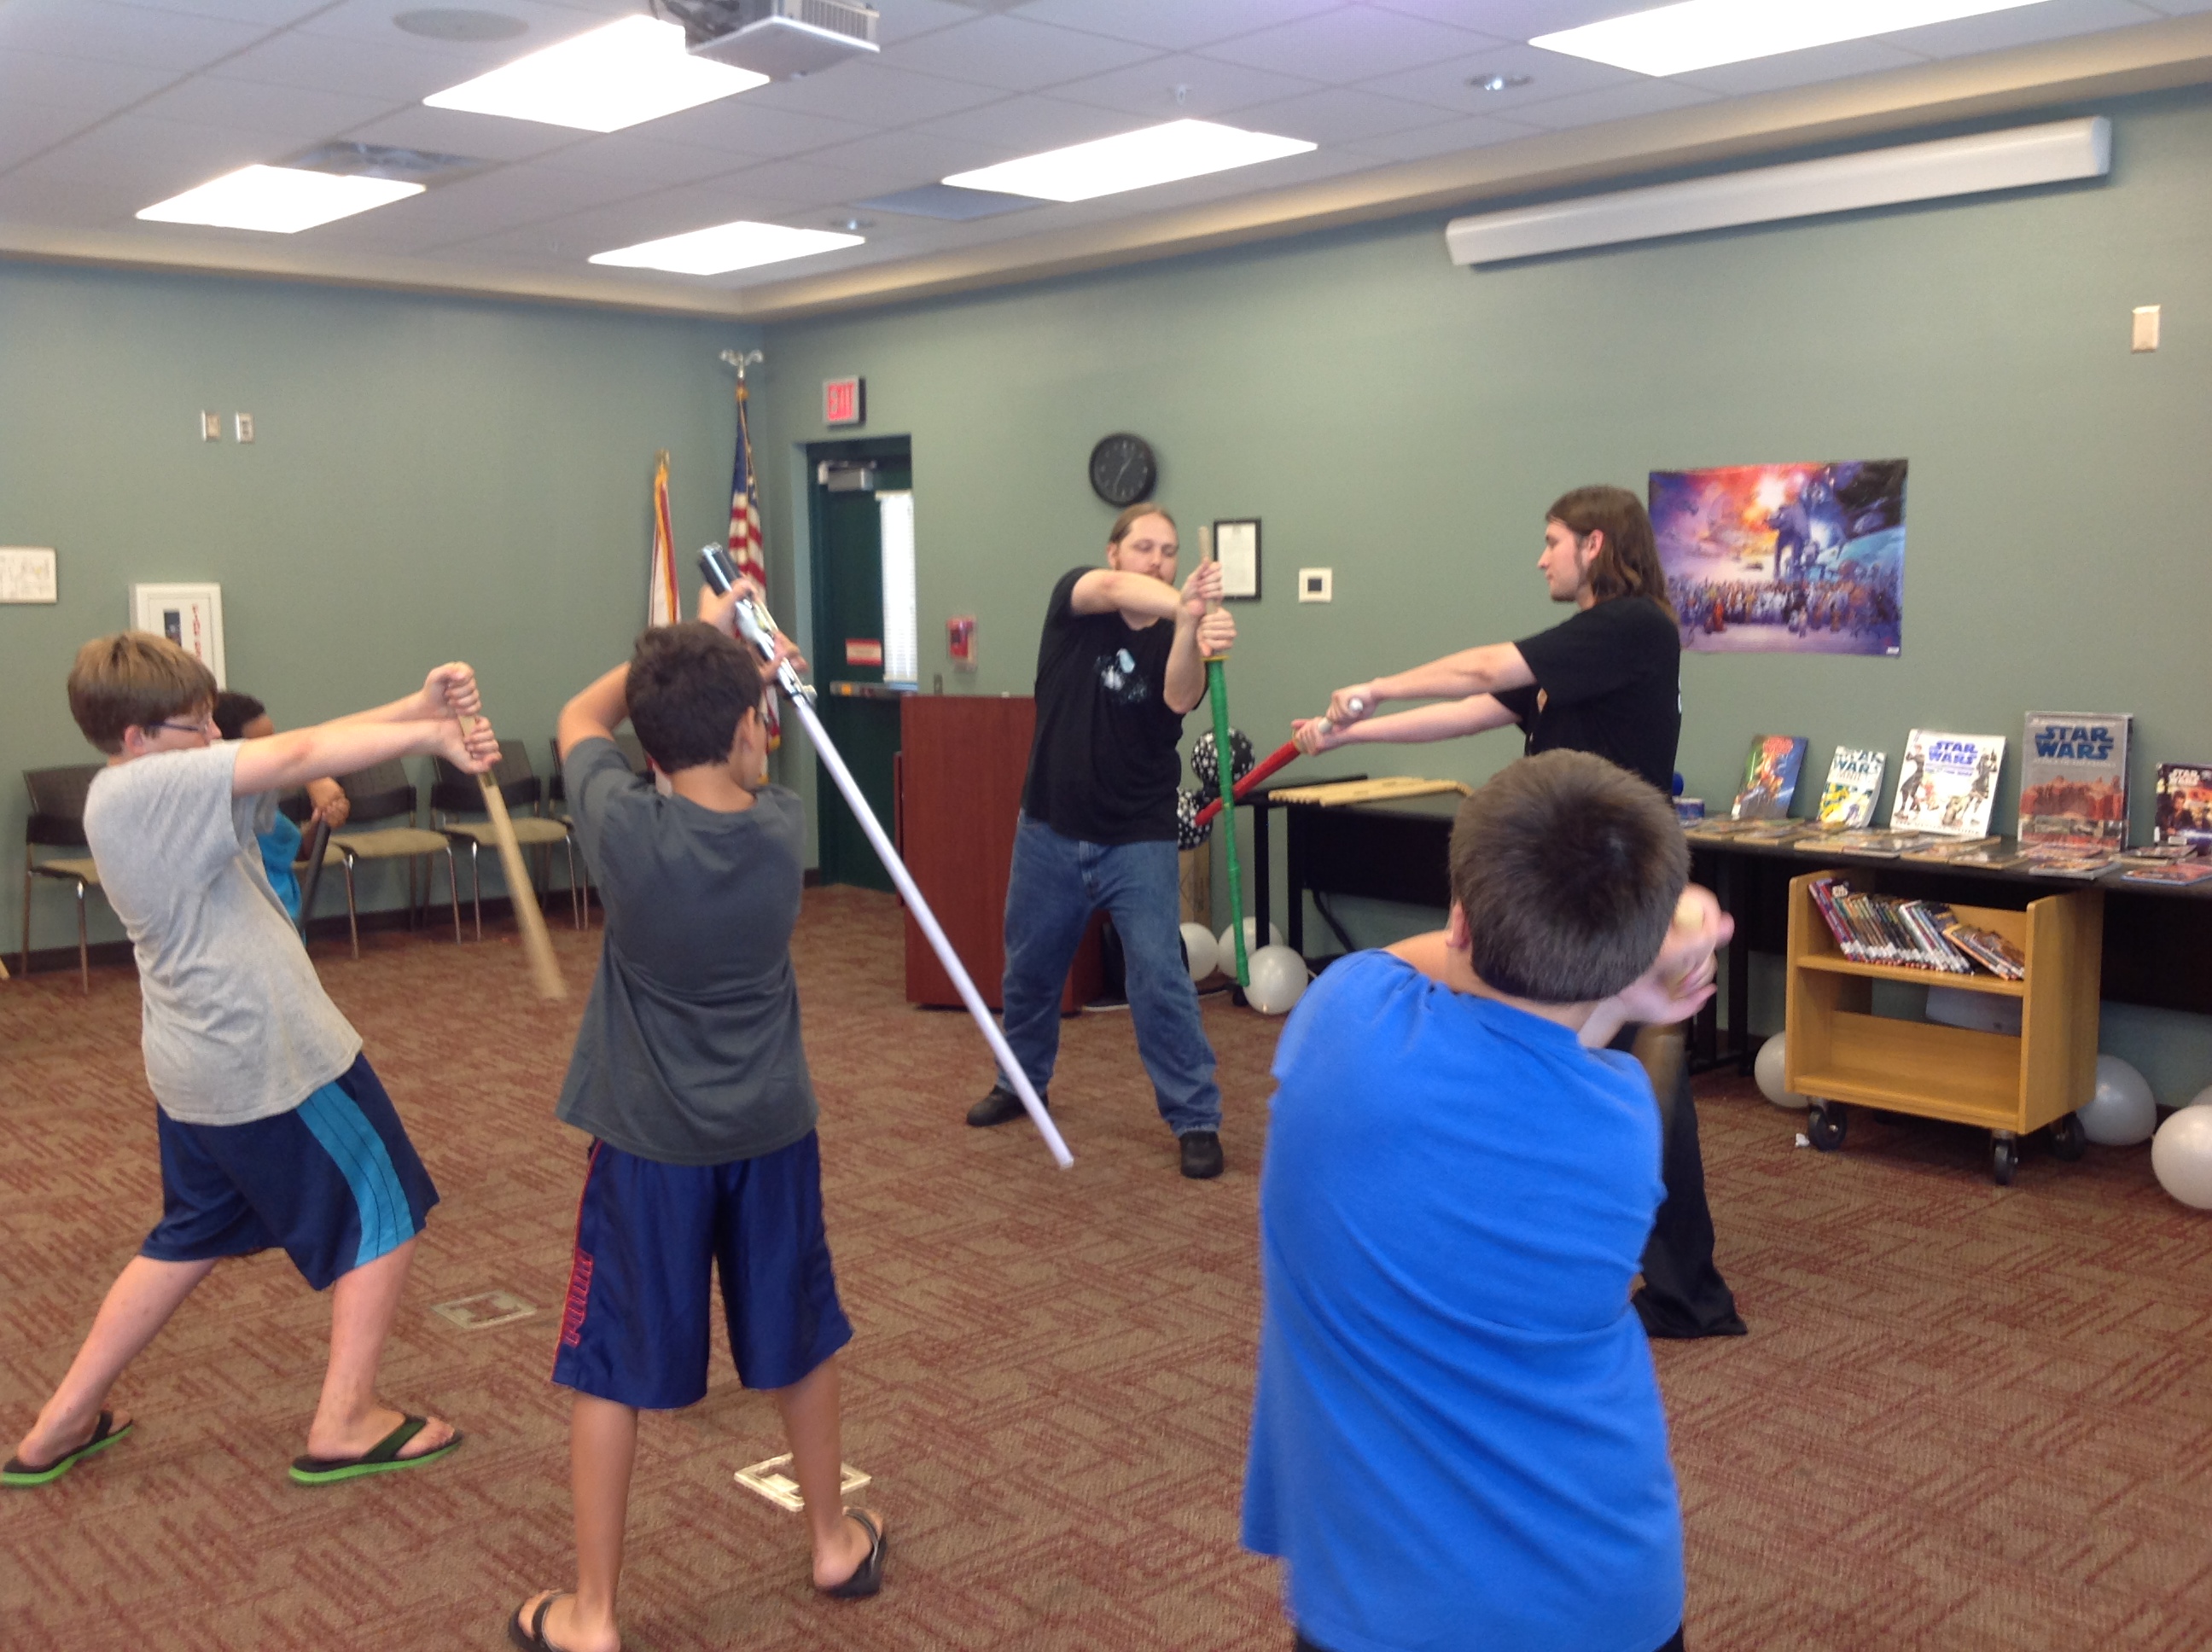
The teens had an absolute blast. We’re extremely grateful to Paul for making our event so special.
The 501st Legion: Vader’s Fist
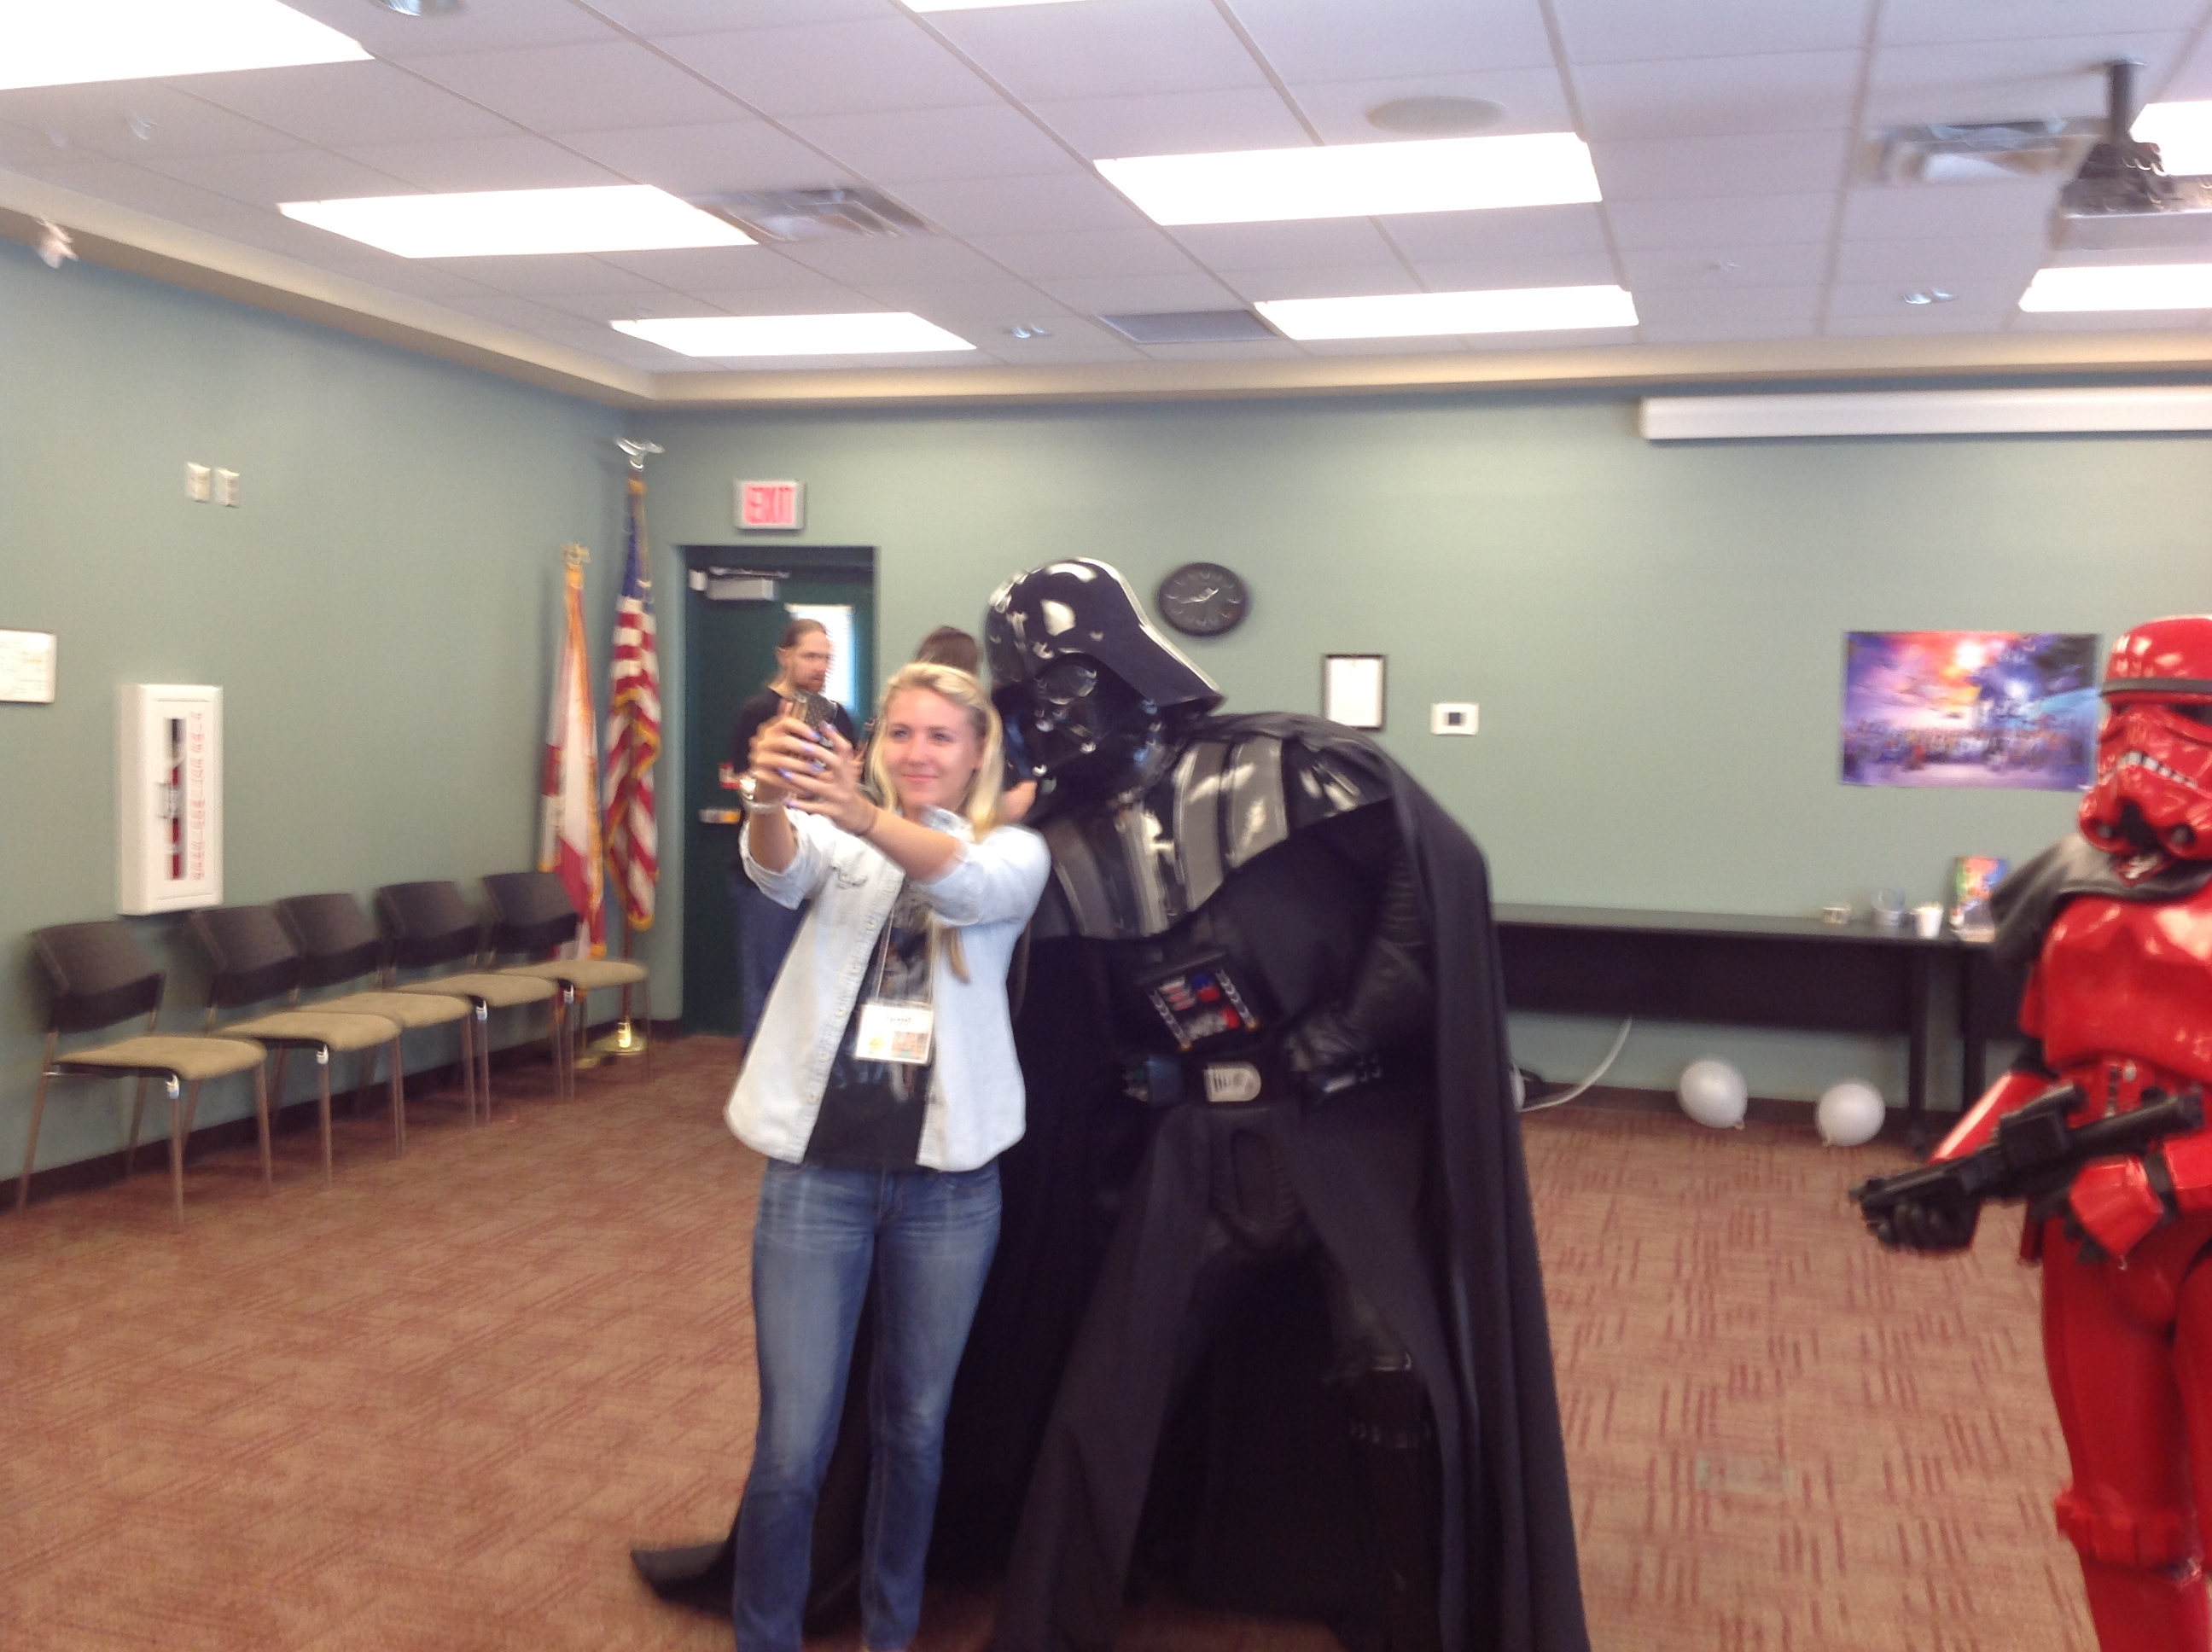
Even Darth Vader enjoys the occasional selfie.
Finally, this post wouldn’t be complete without mentioning the 501st Legion. For those of you who are unfamiliar with them, the 501st is a nonprofit group dedicated to promoting an interest in Star Wars – namely through dressing up as some of its most famous villains. 🙂
The 501st came to our branch free of charge and posed for pictures, interacted with our patrons, and answered Star Wars questions. Our event would not have been the same without them! They were a simply phenomenal addition to our program.

In total, we had over 120 patrons attend this program – not bad for a small library! We had a fantastic time and we can’t wait to do it again.