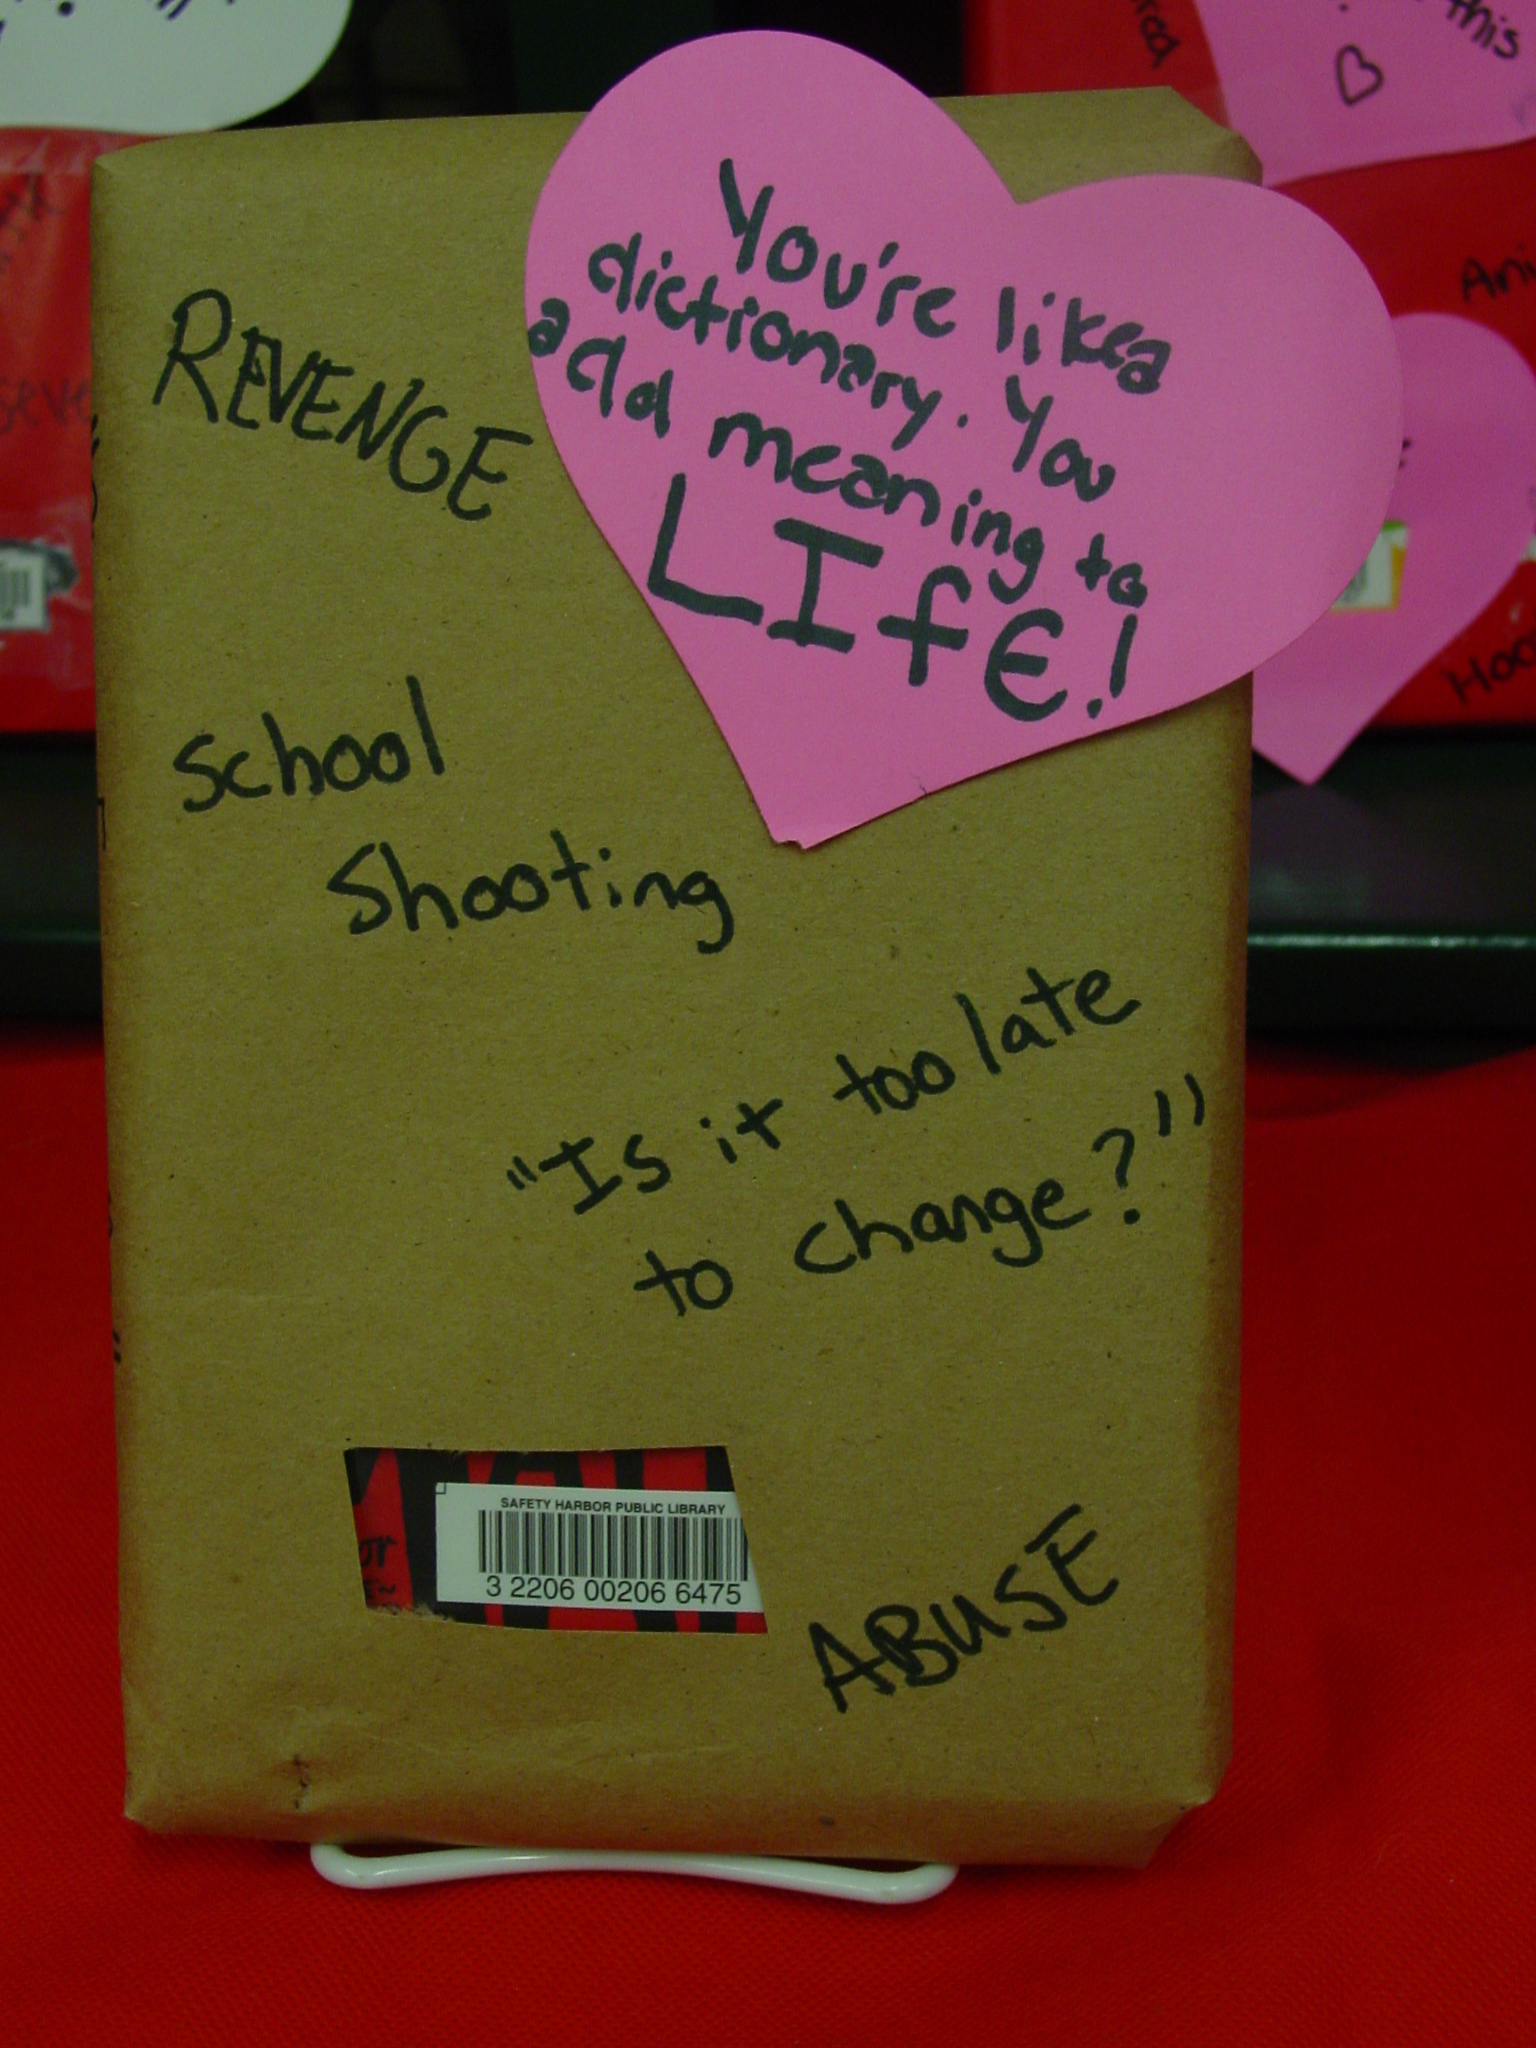
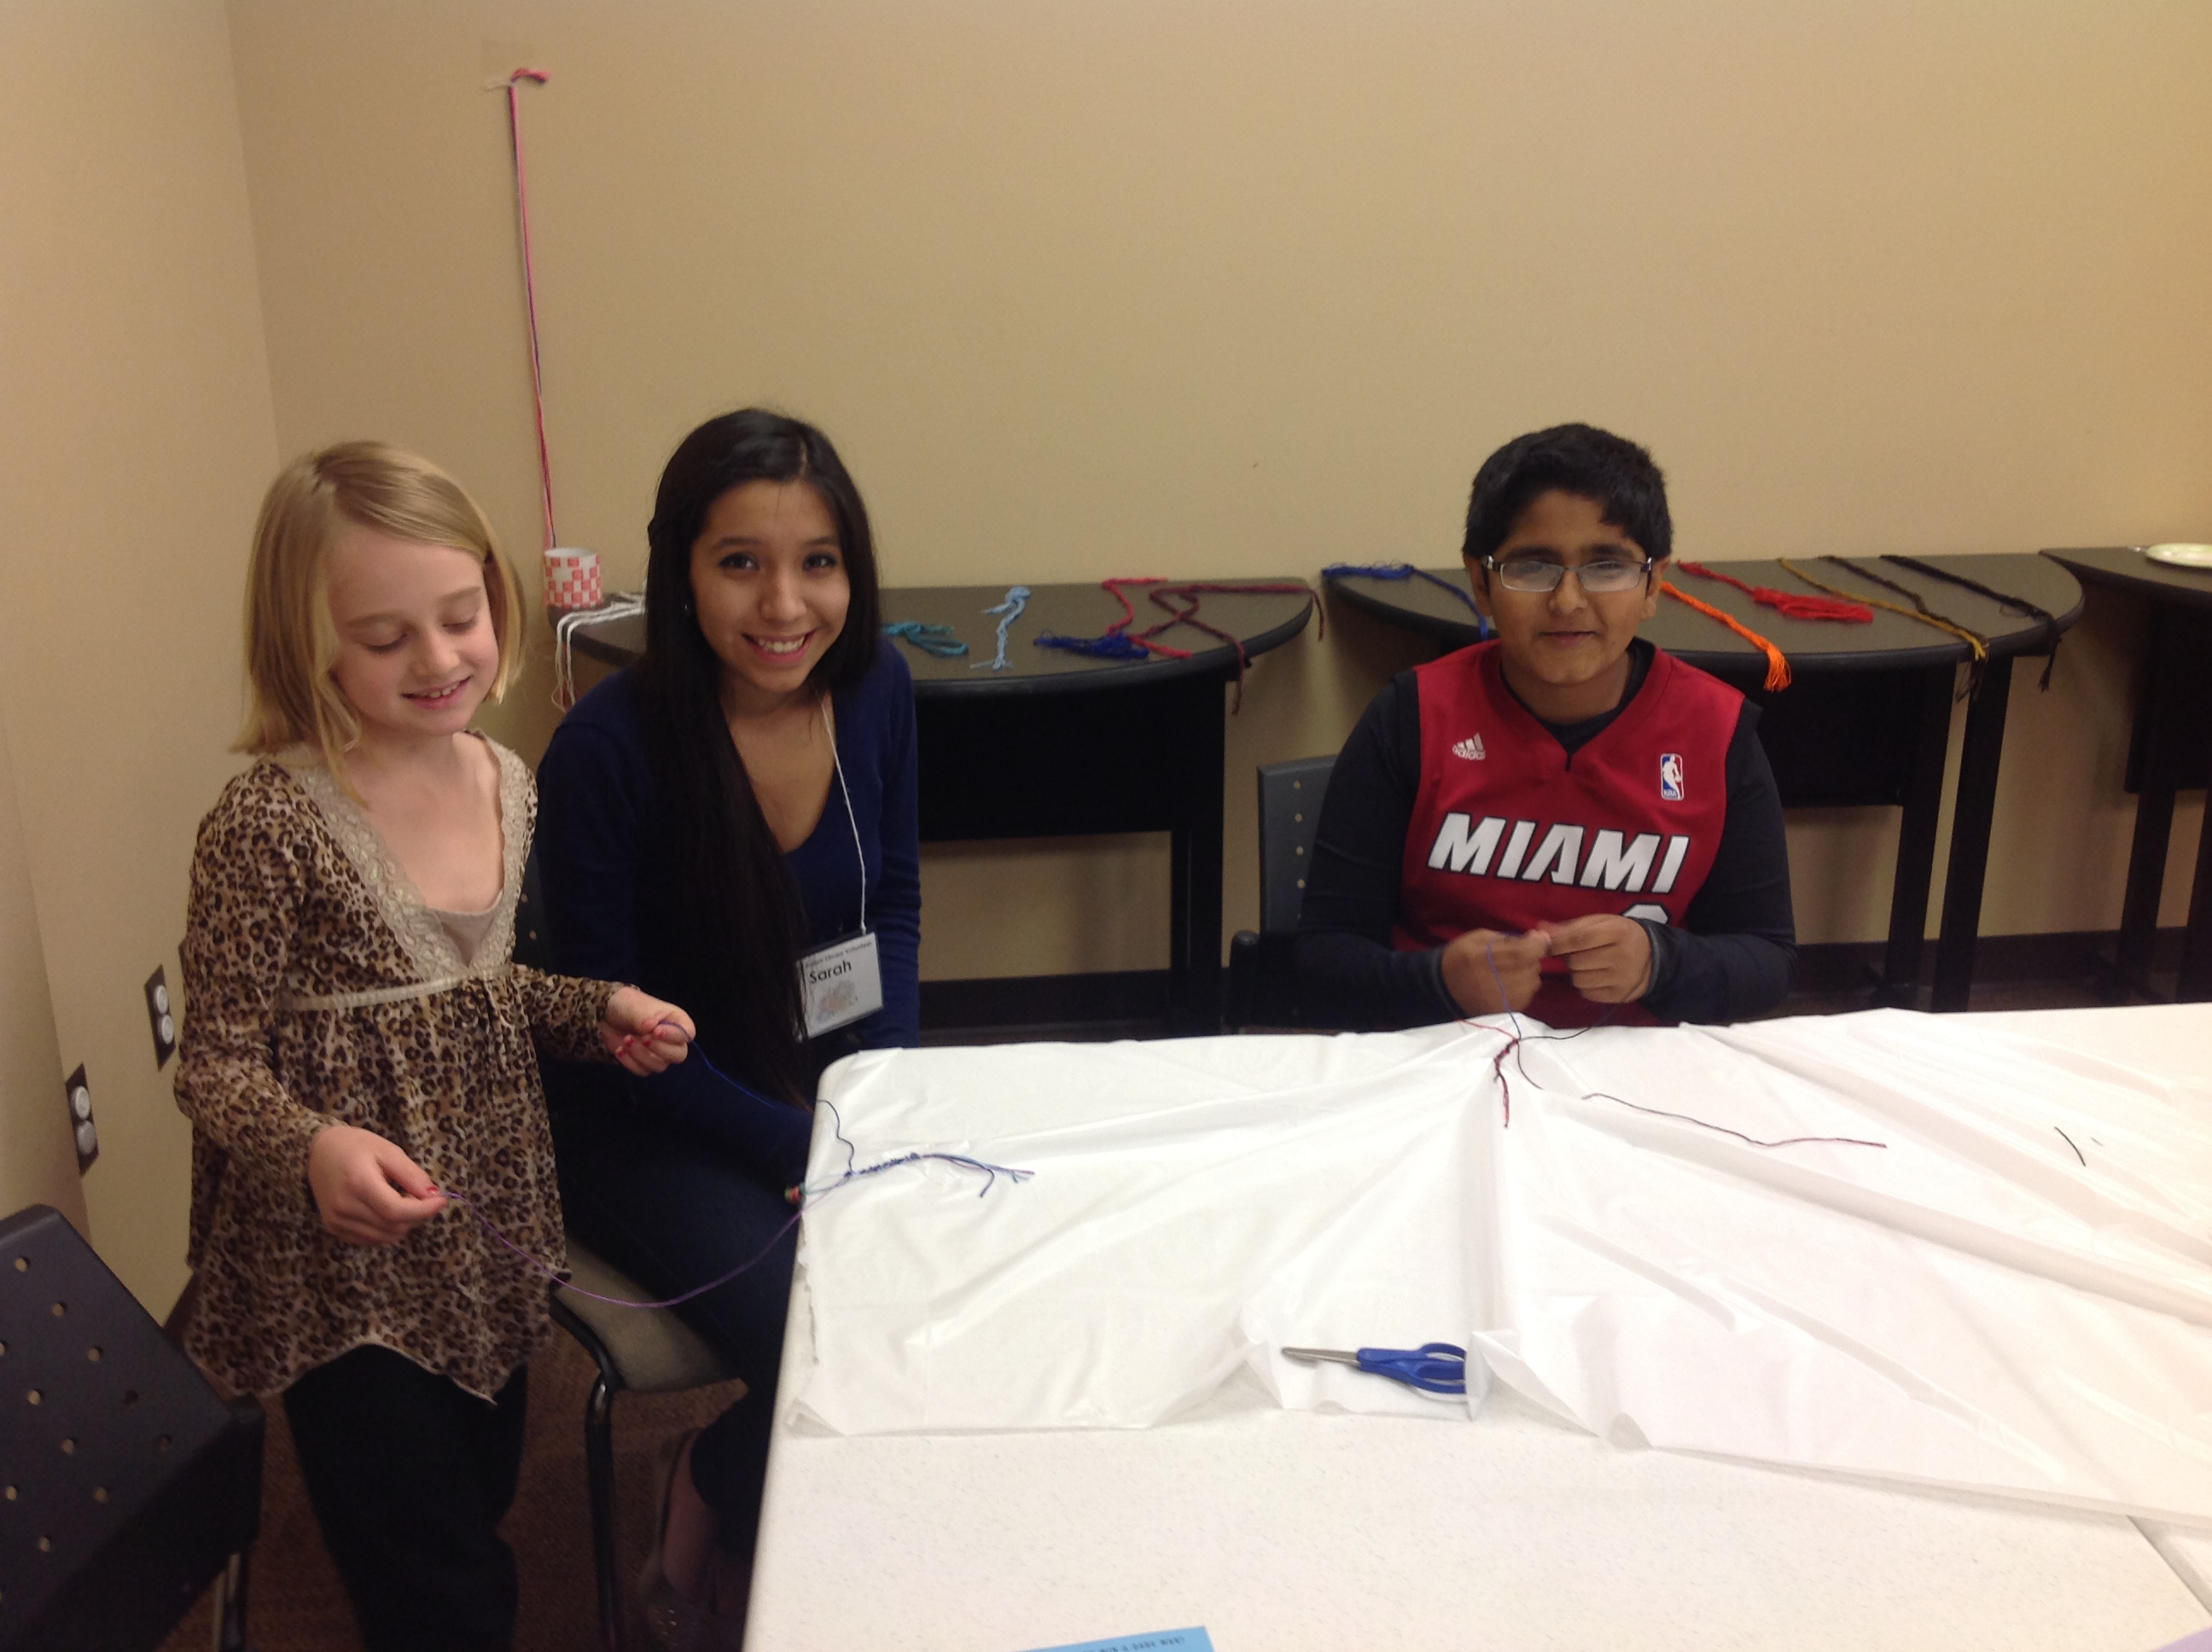
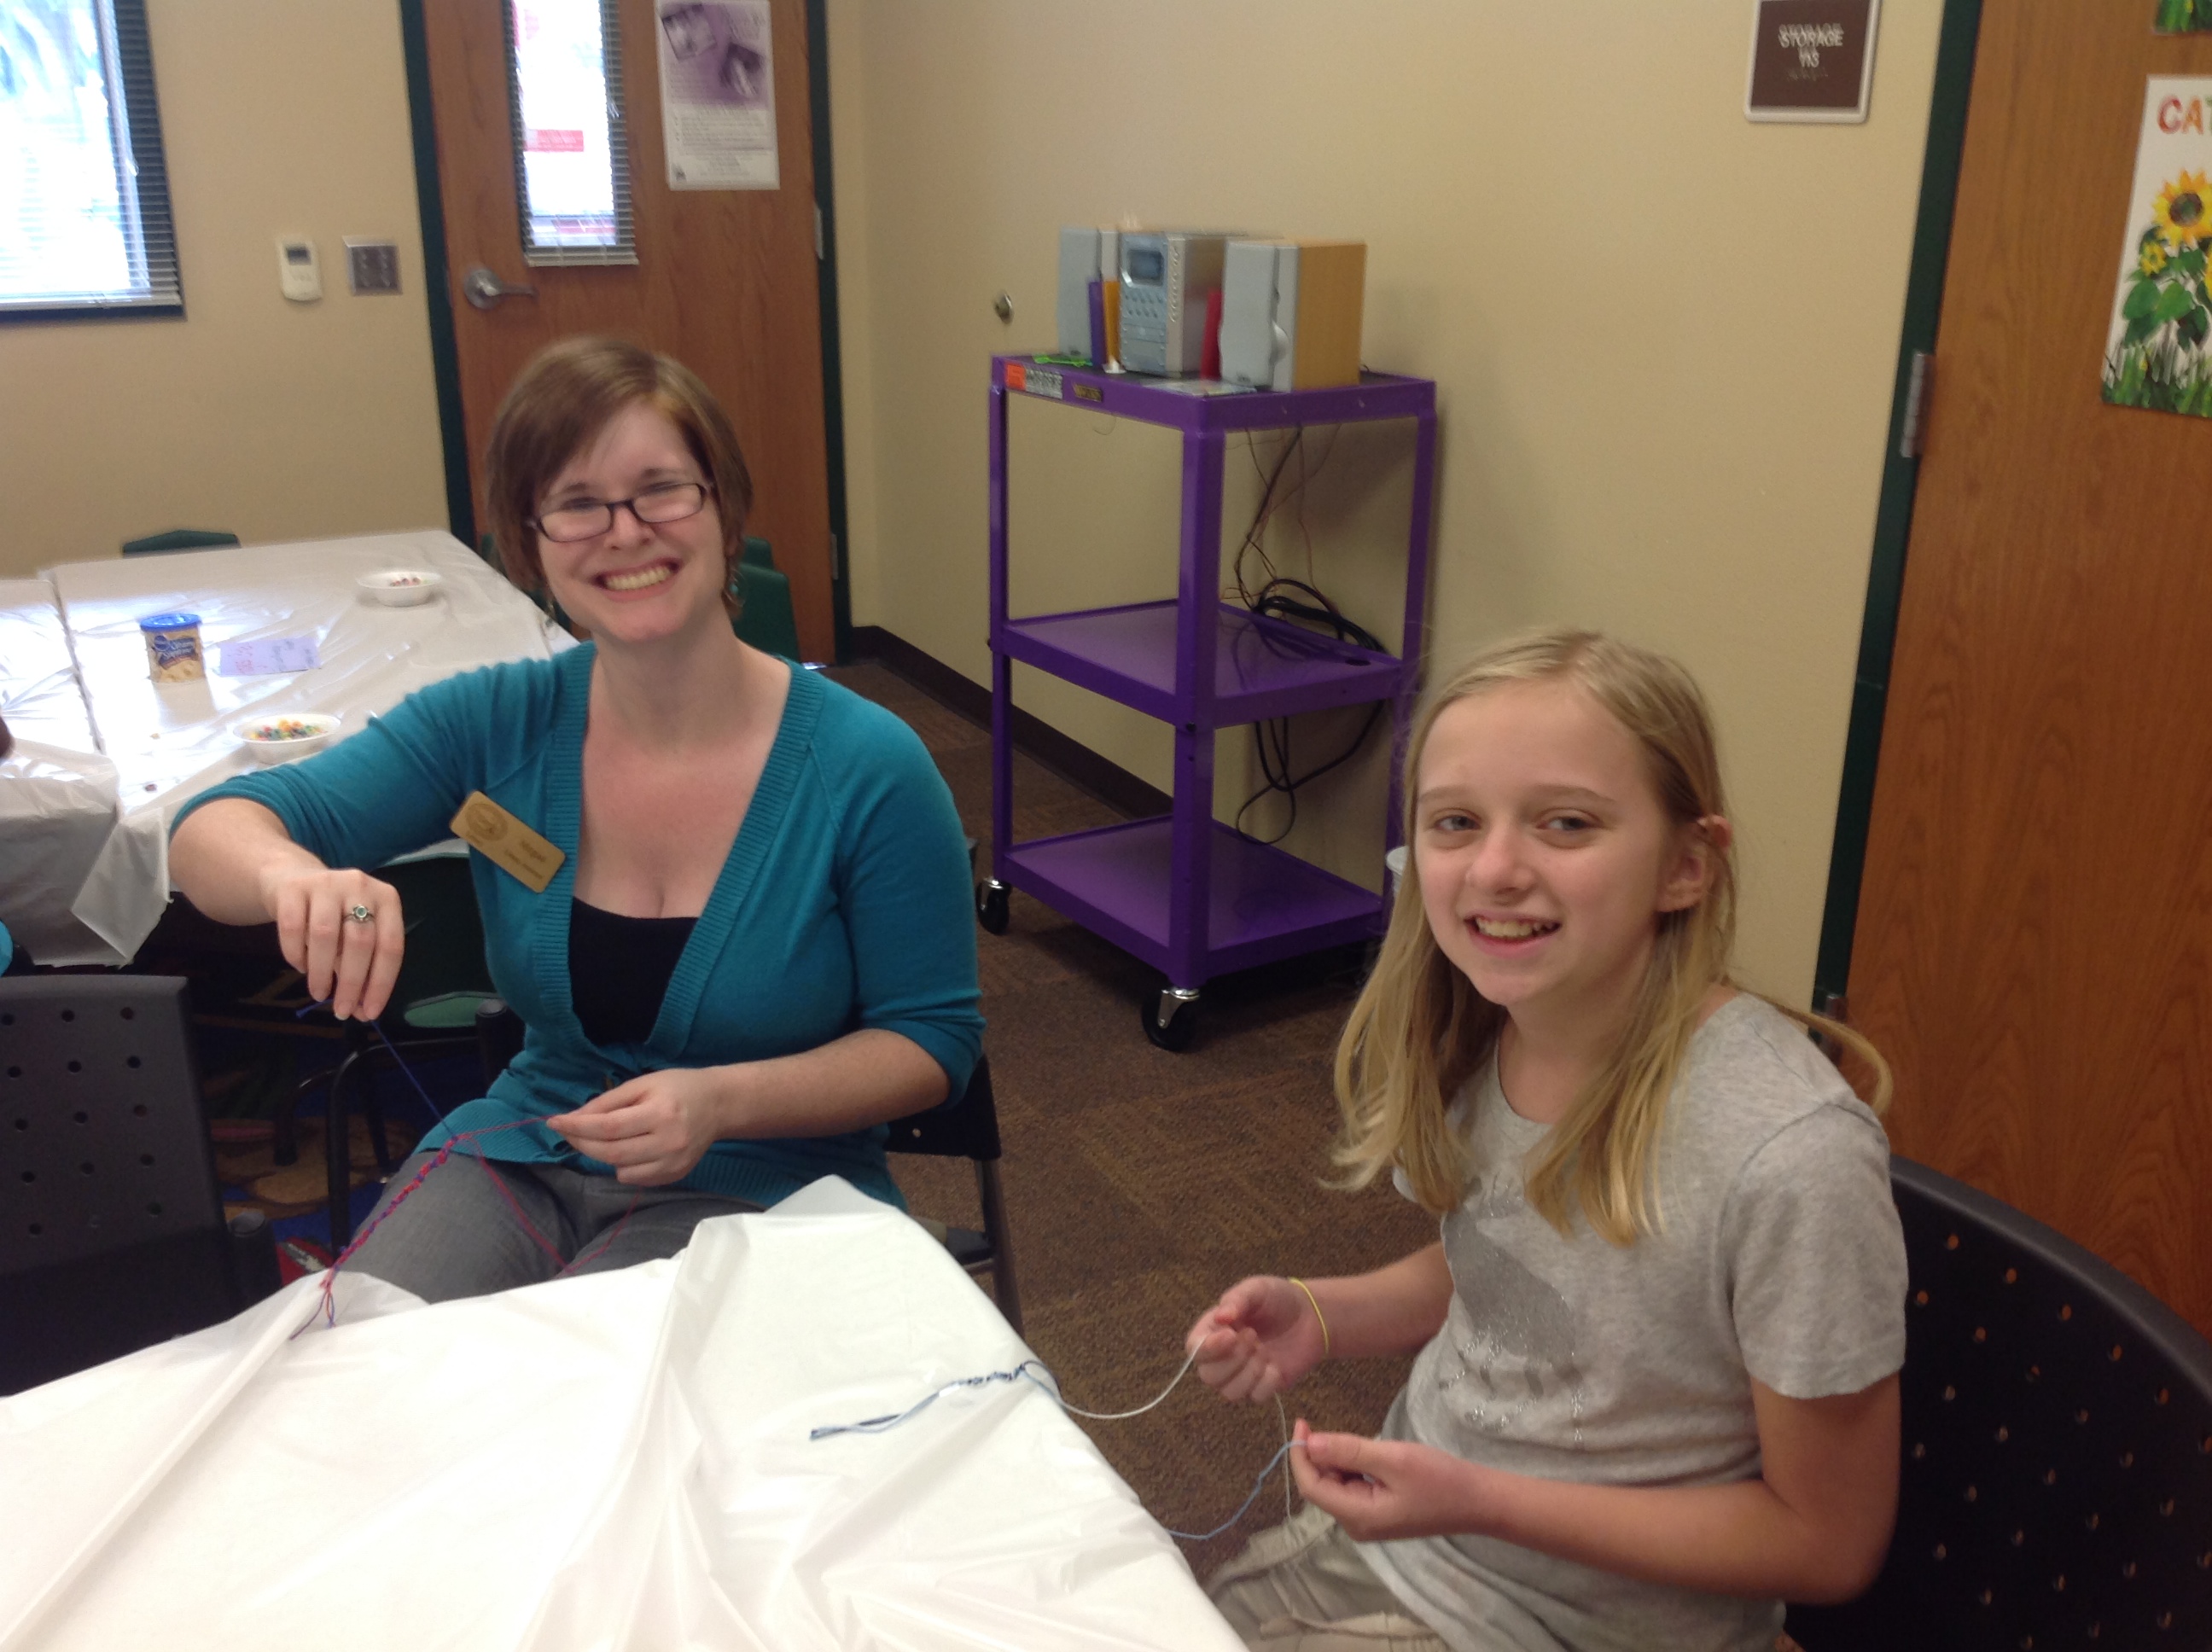
Yes. Teens like standees too. Especially if they’re zombies.
Whether it’s for book bashes, birthday parties, or other fan-based events, cardboard standees are a wonderful way to add that special “something” to your shindig. Kids of all ages – even teens – love posing and taking pictures with standees. It’s a great way to make them feel like they’re “living” the book and help the story come alive for them.
The trouble with standees is that they’re usually expensive. Especially if the series you’re fangirling/fanboying over is an extremely popular one (i.e. The Hunger Games). Such standees can easily go for $20 a pop or more, which can quickly eat through your program budget if you’re not careful.
The solution? It’s simple: make your own standee. It’s ridiculously cheap, especially if you already have the supplies on hand. Admittedly, you have to have a smidge of artistic ability in order to pull this off. Or at least have a friend with a smidge of ability who can be easily guilted into helping you. 😉
I’ve posted my tutorial on how to make cardboard standees below. I’d recommend starting simple (ex: cartoon characters) before trying anything harder. Once you’ve got the hang of it, let your imagination run wild. Plants, animals, buildings: anything’s up for grabs as long as its made of cardboard.
Supplies:
2 large pieces of cardboard (refrigerator boxes are the perfect size)
1 box cutter
1 bottle of wood glue
1 pencil
1 sharpie marker
Bottles of paint in various colors
Paint brushes in various sizes (both small and large)
Step 1: Draw your character
Since we’re had a Frozen movie party this week for Spring Break, I decided to make an Olaf standee so the kids could take pictures with him. I found a picture of Olaf on the Internet and drew him as best I could. Then I outlined him with a black sharpie marker so he was easier to see.

Note: The decision to use sharpie or not is entirely up to you. If you’re not careful, the sharpie can bleed through your paint if you’re using lighter colors. In my case, I wanted the lines to bleed through so I could see them and re-trace them in black paint. If you’re worried about it, I’d recommend sticking with just pencil.
Step 2: Paint.

If you’re messy like me, I highly recommend washable paints. Also, be prepared to do multiple coats if you’re using lighter colors. I had to paint Olaf’s body four times to take him from cardboard brown to white.
Step 3: Cut out your character using a box cutter

Go slowly while doing this, as in “so slow you might be mistaken for a turtle.” Otherwise, you may accidentally slice into your character and have to start all over. If you have small, detailed parts (like hands) leave extra space around them so that you can go back and take even more time on those sections.
Step 4: Create the back support
In order for your character to stand upright, there has to be a piece of cardboard attached to its back in perpendicular fashion. So take your second piece of cardboard and follow the directions below:
1) Cut the cardboard until it’s just a little bit shorter than your character
2) Draw a “Giant Boot Shape” on this piece of cardboard. Cut out your giant boot using the box cutter.
3) Fold the right side of your “boot” in about two inches. This will create a flat surface for adhering it to your standee.
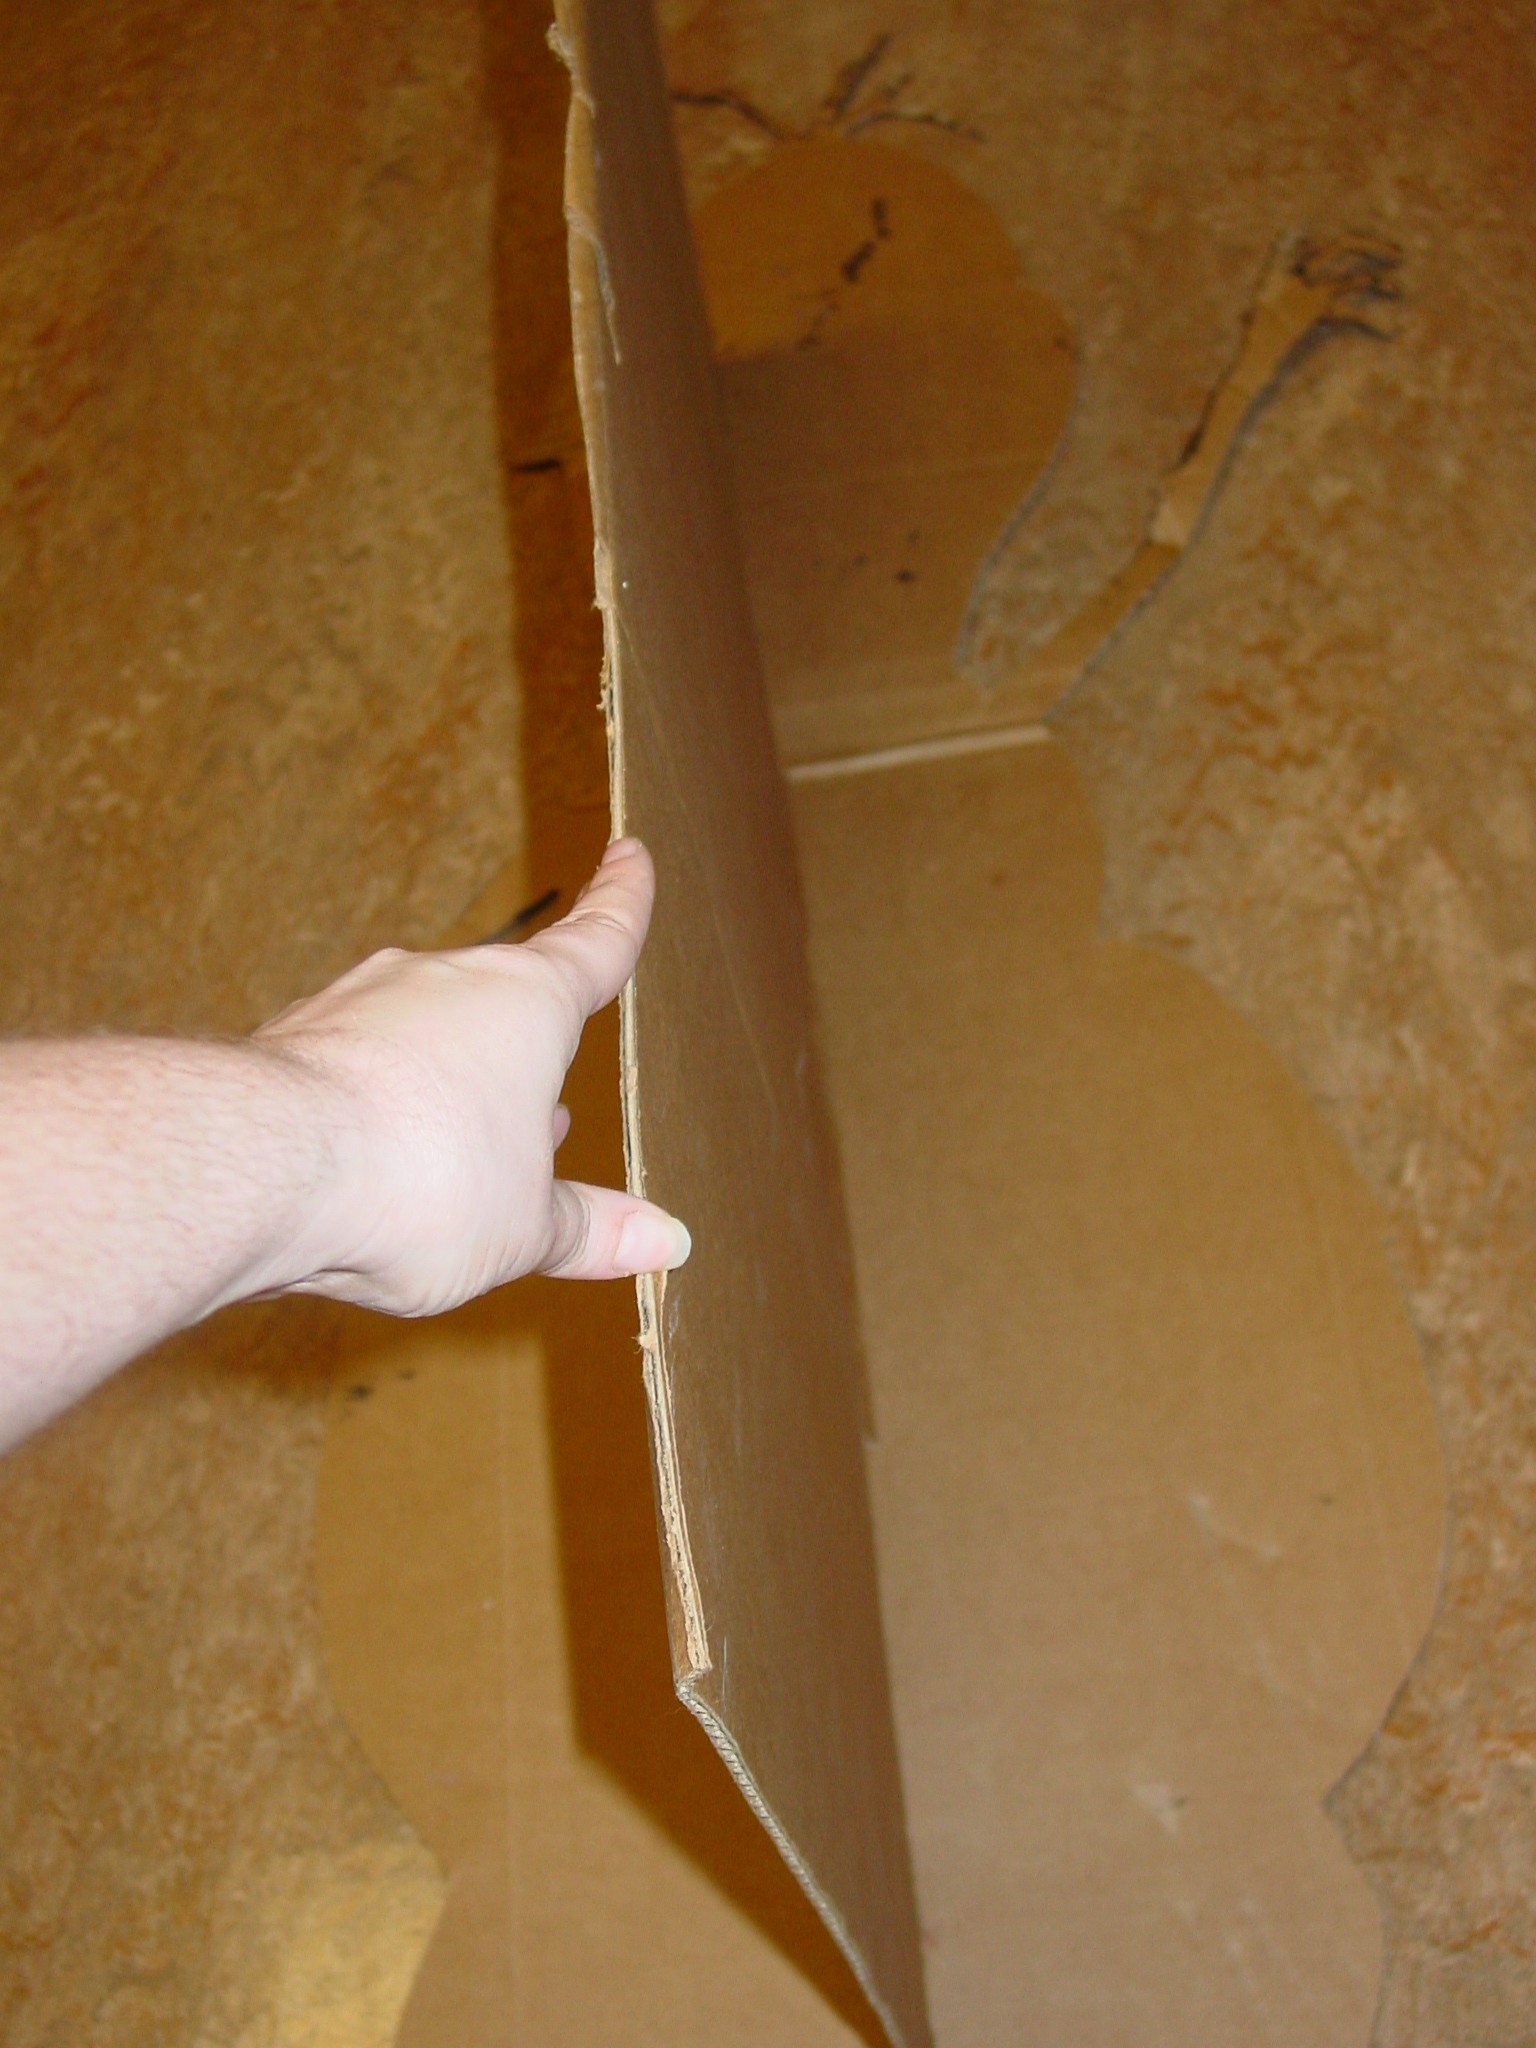
2nd cardboard piece

Giant boot shape
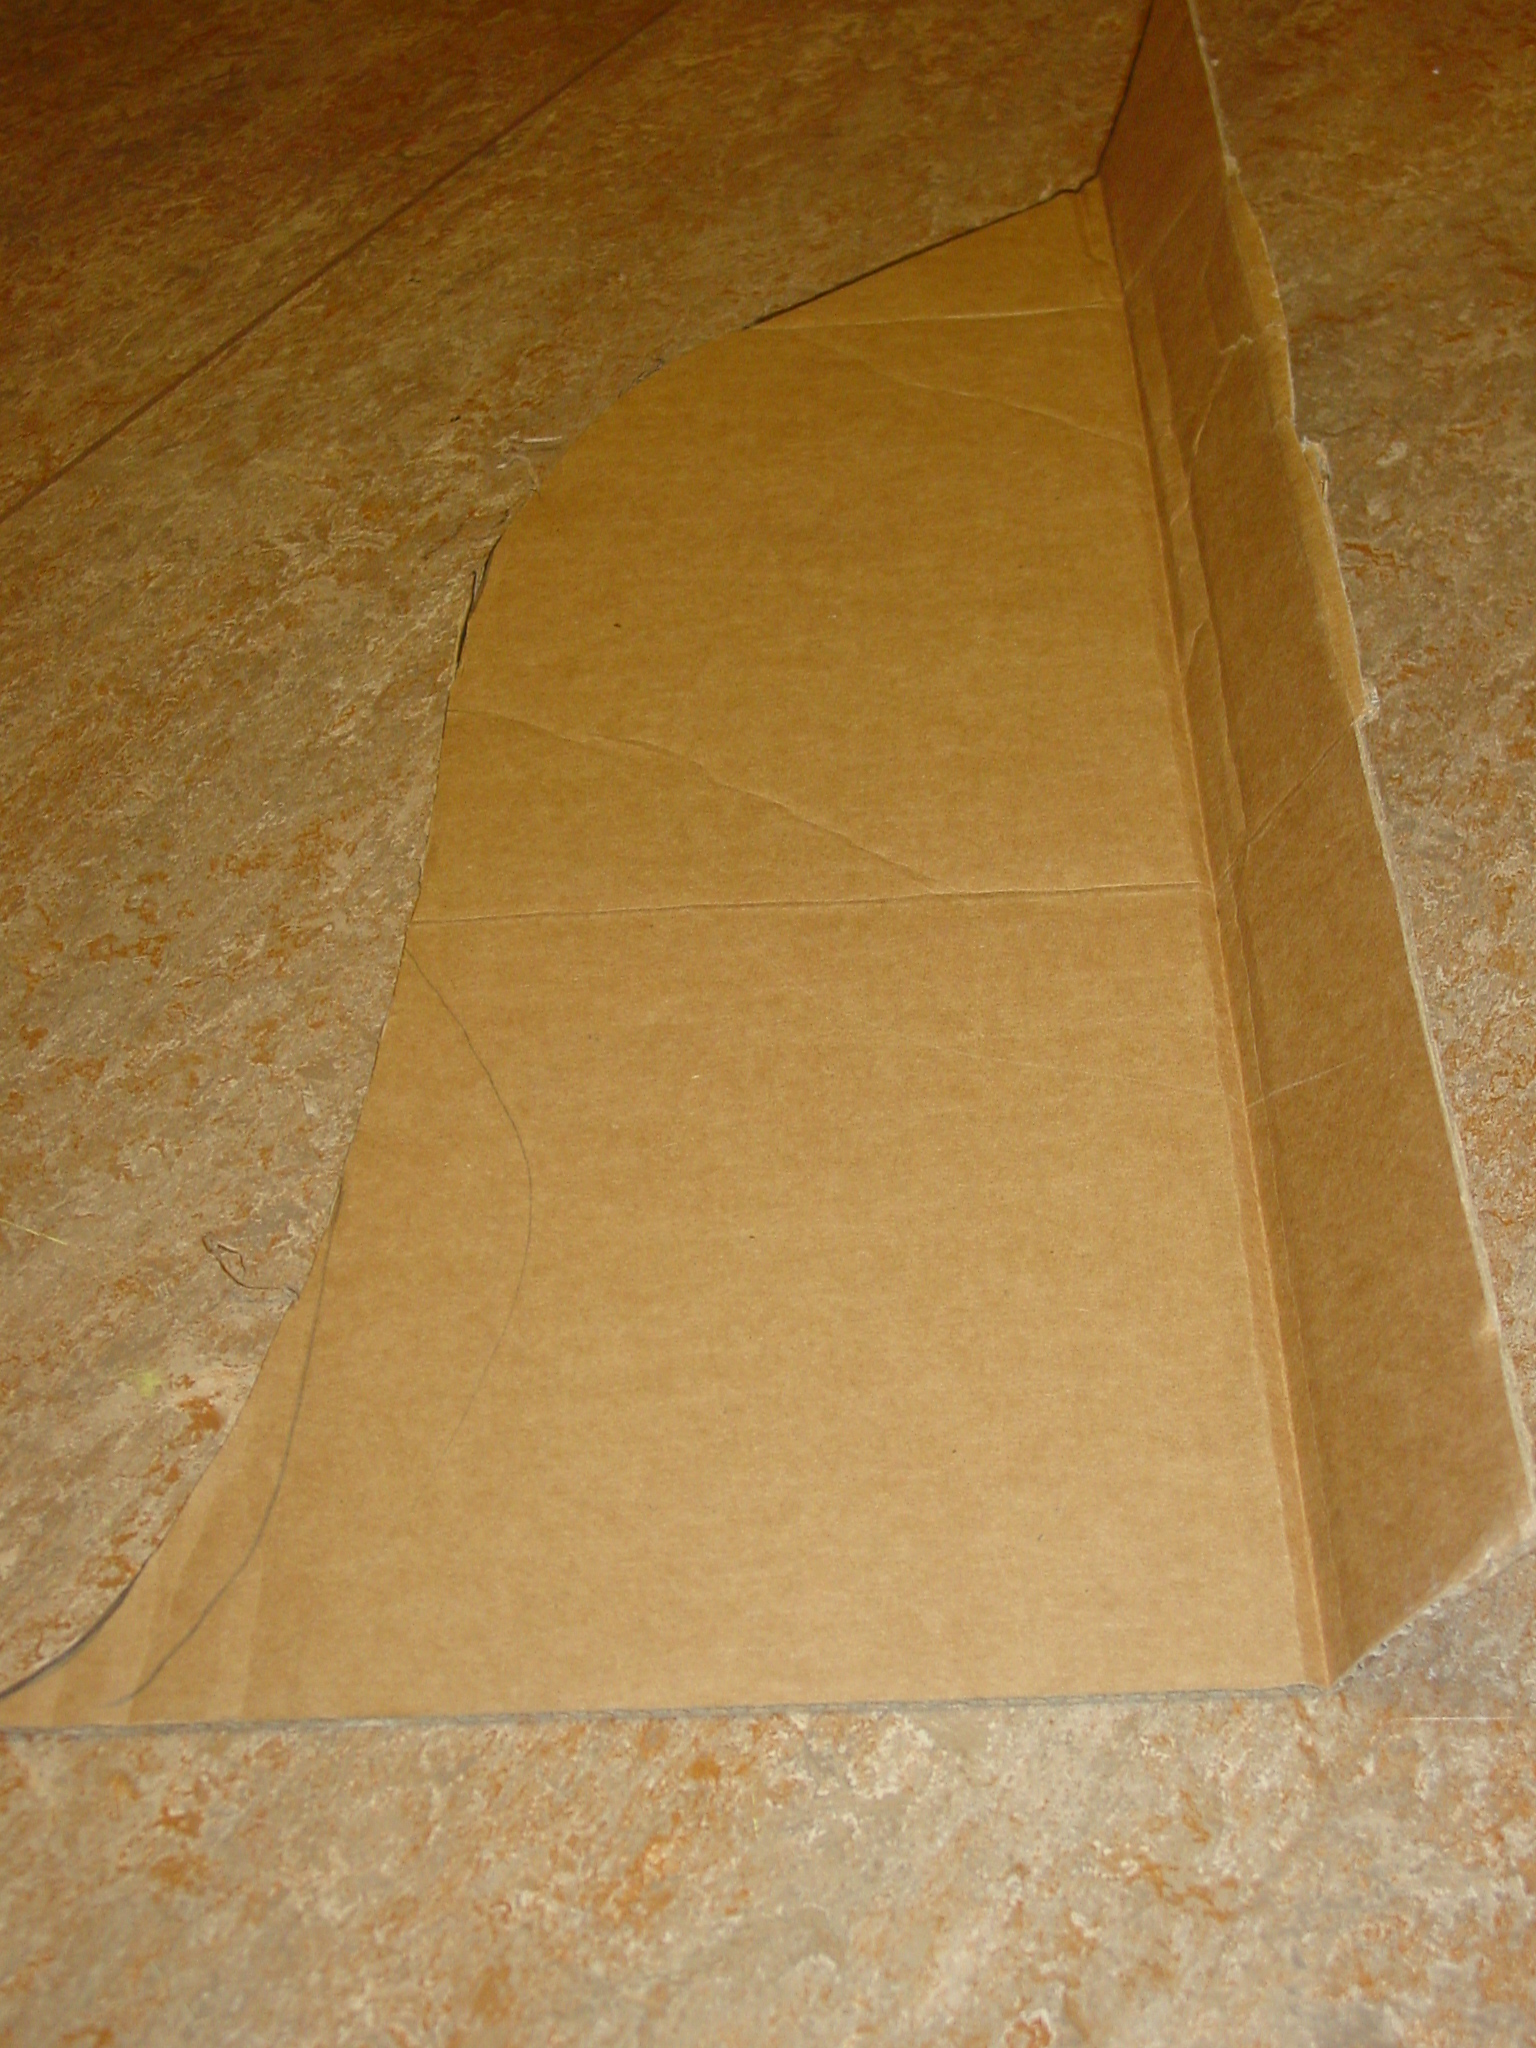
Finished product (with folded right side)
Step 5: Attach the back support
Trace the outline of the 2 inch, flat section of your support piece onto the back of your character. Make sure that you’ve centered the support in the middle of your character’s body. After you’re done tracing, fill in what you’ve drawn with wood glue. Then apply the 2 inch section of the support to the glue and press down firmly. Weigh it down with several heavy objects and let it sit overnight.
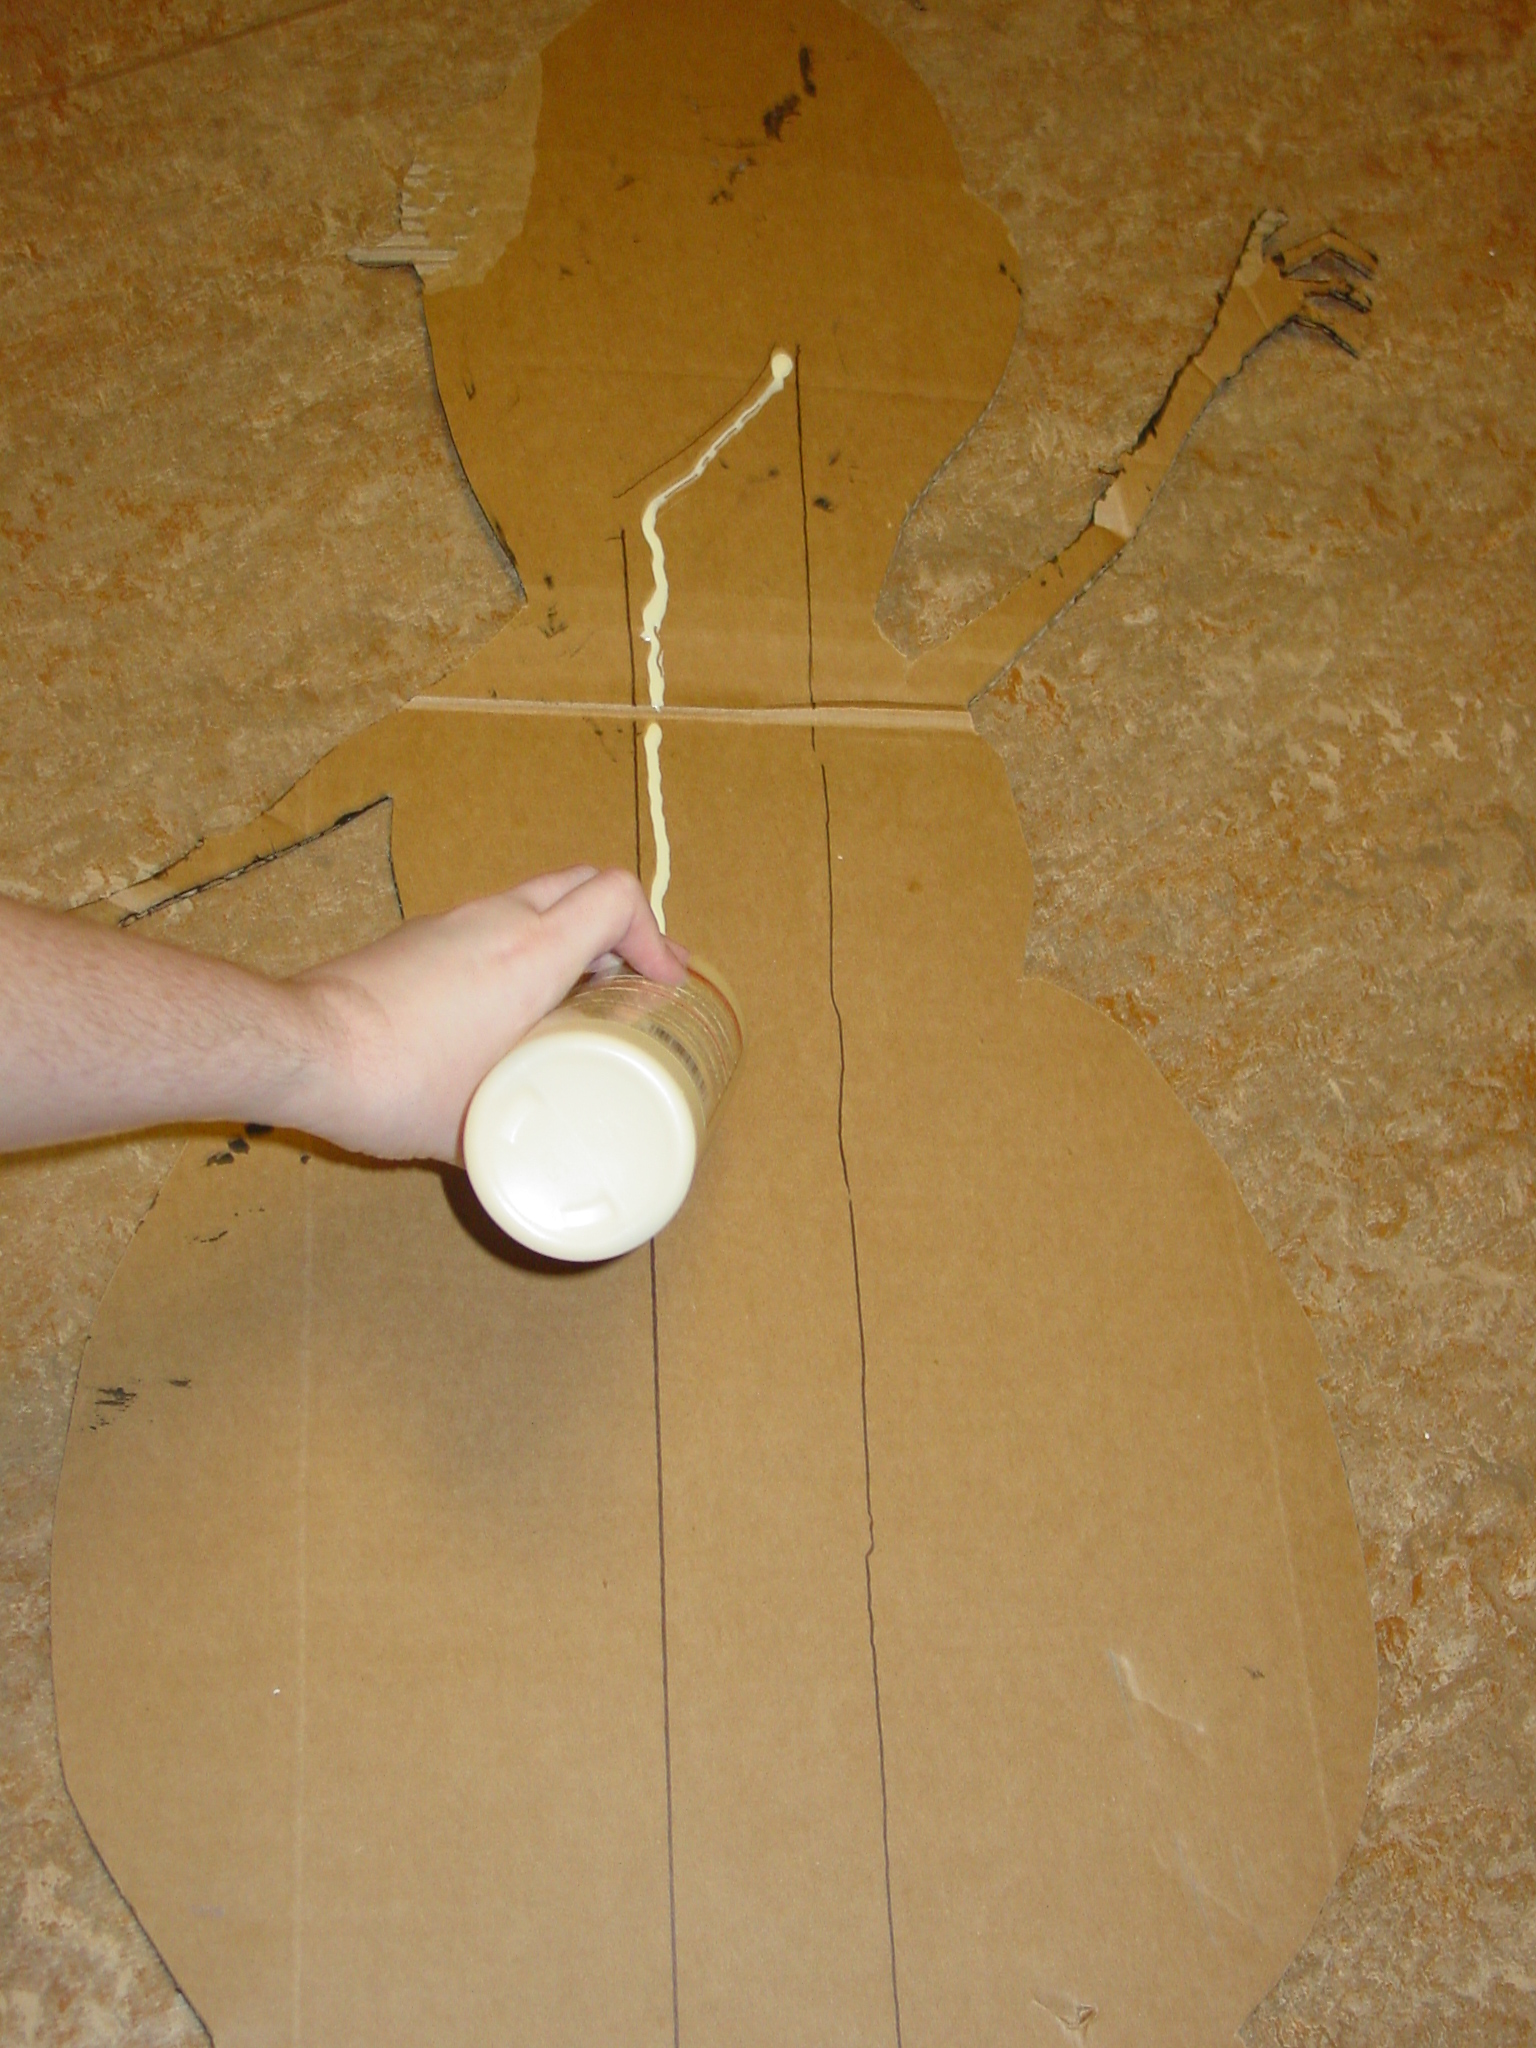
Adding wood glue to the tracing

Pressing firmly
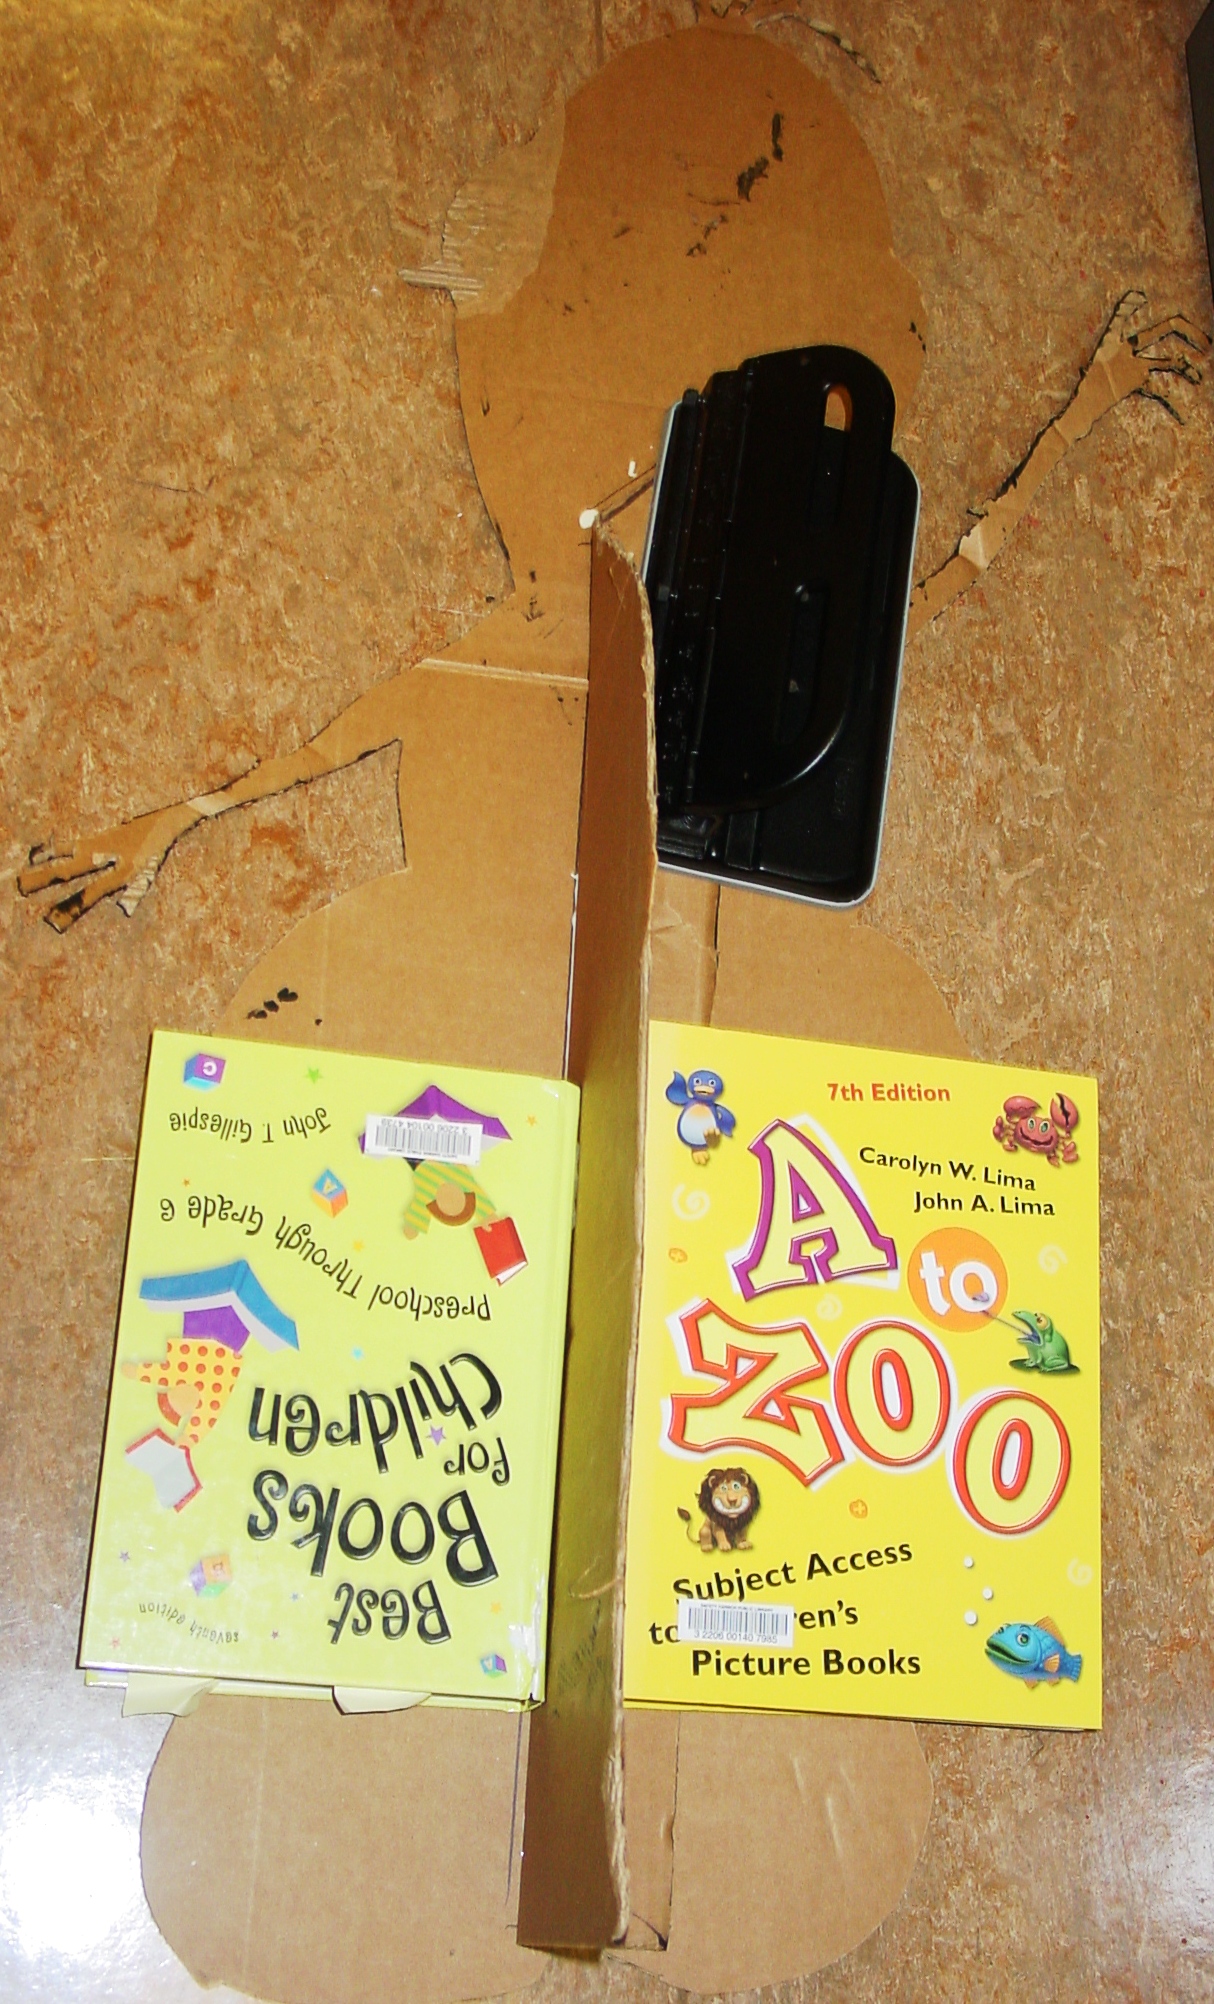
Weighing down 2-inch section with heavy objects.
Step 6: Strike a pose!

I hope this tutorial has been helpful. Let me know if you have any questions!
❤ – The Loudmouth